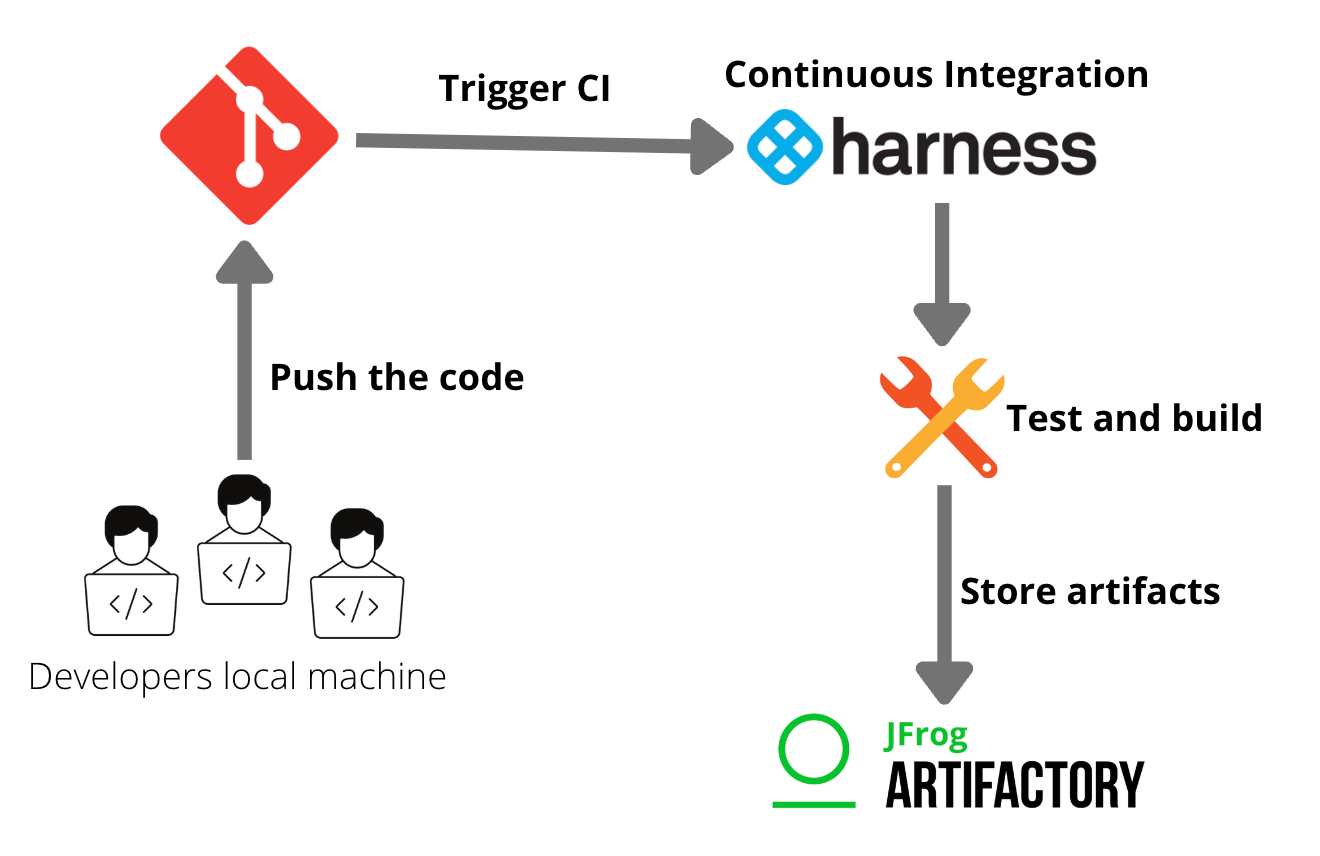
This article will explain how a developer can easily use best-of-the-breed DevOps tools, like Harness and JFrog Artifactory, to test and build with CI and store the build artifacts.

TL;DR
Integrating JFrog Artifactory with Harness CI streamlines the software development lifecycle by enabling seamless storage and reuse of build artifacts, enhancing developer productivity and accelerating software delivery.
JFrog Artifactory is a solution for managing binaries, packages, and repositories, which are known as “software assets” in the world of continuous integration (CI) and delivery (CD). Artifactory helps software developers codify, store, and track files and their metadata without needing to understand their inner workings. It also offers centralized storage of binary assets, so other team members can reuse them. Since all the build artifacts and binaries are stored in a single place, Artifactory provides a single view of the entire development process, enabling developers to share their work seamlessly.
This article will explain how a developer can easily use best-of-the-breed DevOps tools, like Harness and JFrog Artifactory, to test and build with CI and store the build artifacts. This makes it easy for other developers in the team to collaborate and use the stored artifacts, which not only enhances developer productivity but also speeds up the software delivery process.
Harness has a seamless integration with Artifactory. Users just need to set up a free trial of Harness Continuous Integration, add the test and build steps, and then push the build artifacts to Artifactory. We will see this with a simple example and learn how Artifactory and Harness work together to streamline your software development lifecycle.
Pre-requisites
- Apache Maven installed, follow this official website to install
- Have a free JFrog Artifactory account setup
- Create a free account at Harness
- Kubernetes cluster access from any cloud provider, or you can even use Minikube or Kind to create a single node cluster
Setup
First, build a simple Java project with Maven. For the purpose of this tutorial, I have created a simple application, and you can clone it. You can find the example on Github.
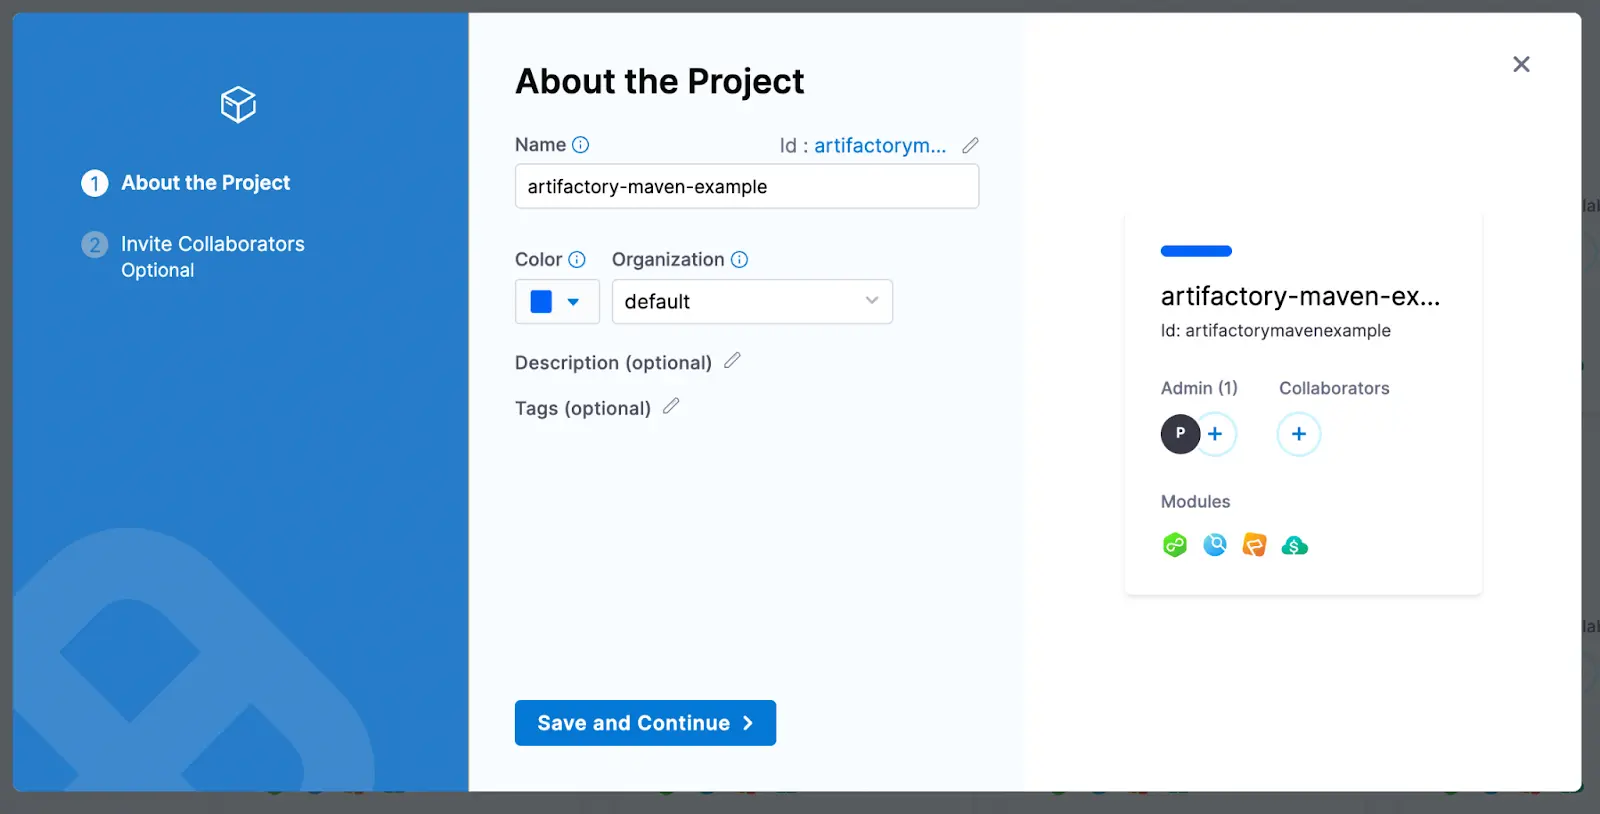
Then, log in to your Harness account and create a project.
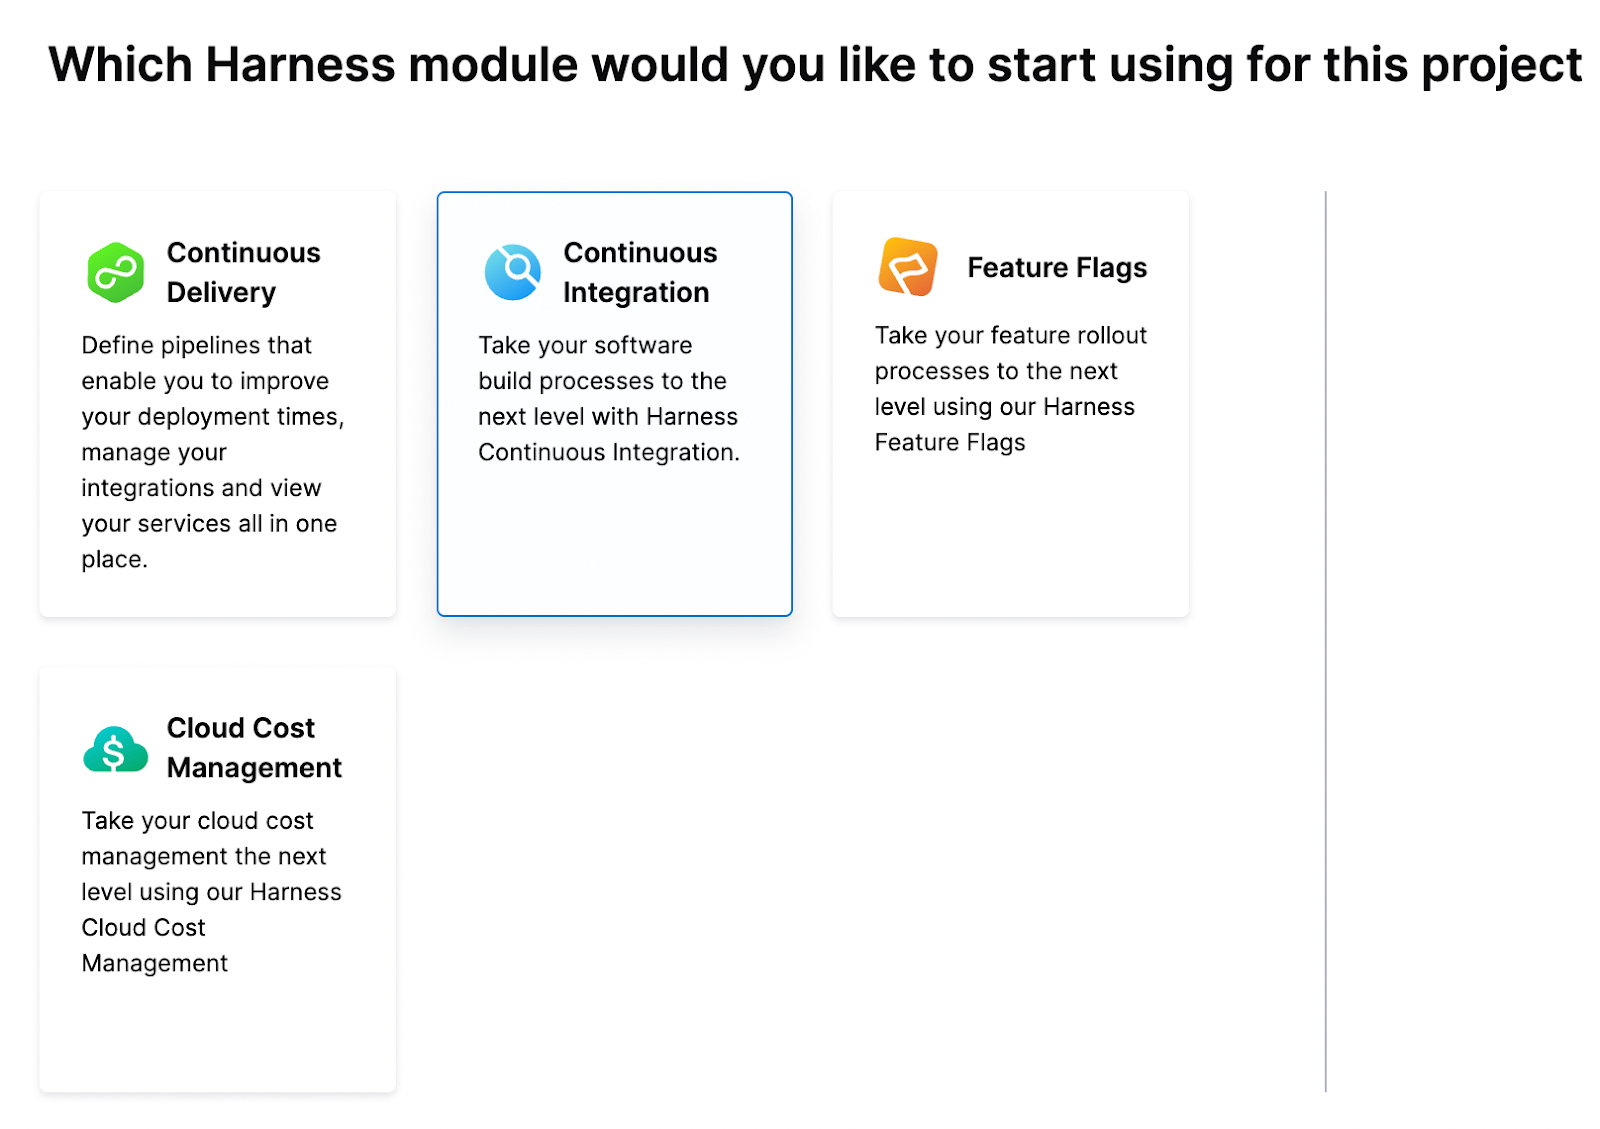
Select the continuous integration module from the list.
Start doing the project set-up by adding a Delegate to the project first.
Note: You might be a little overwhelmed by thinking about what a delegate is and why it’s required. The Harness Delegate is a service/software you need to install/run on the target cluster (Kubernetes cluster in our case) to connect your artifacts, infrastructure, collaboration, verification, and other providers with the Harness Manager. When you set up Harness for the first time, you install a Harness Delegate. If you want to know more about Delegate, read the Harness Delegate documentation.
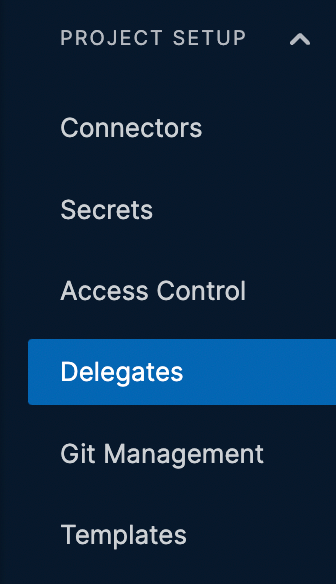
Then add Artifactory as a new connector.
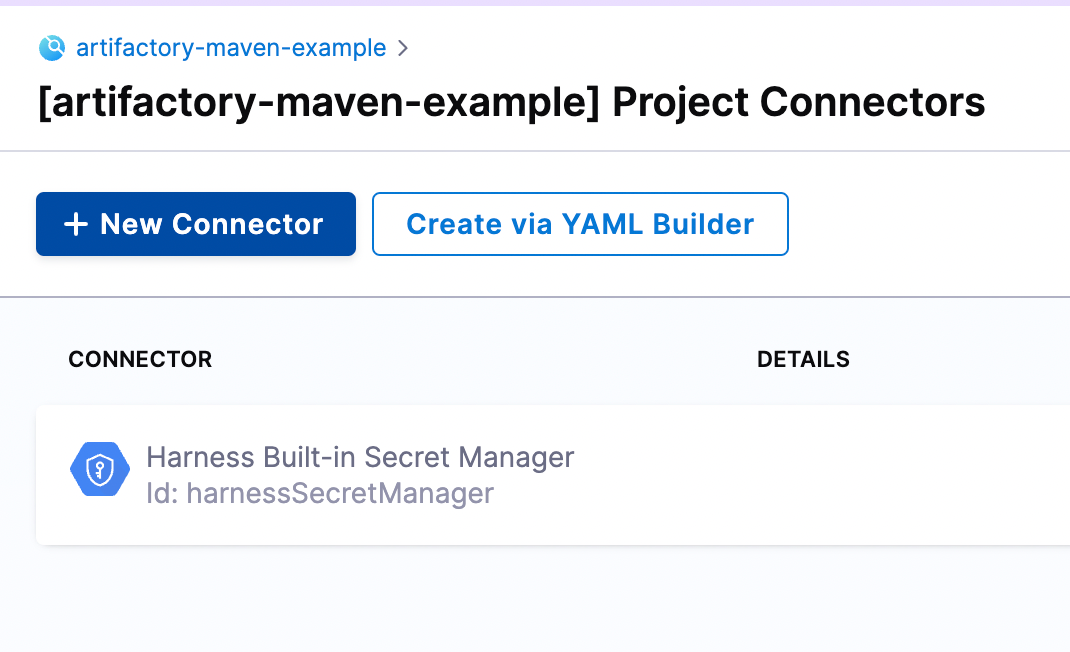
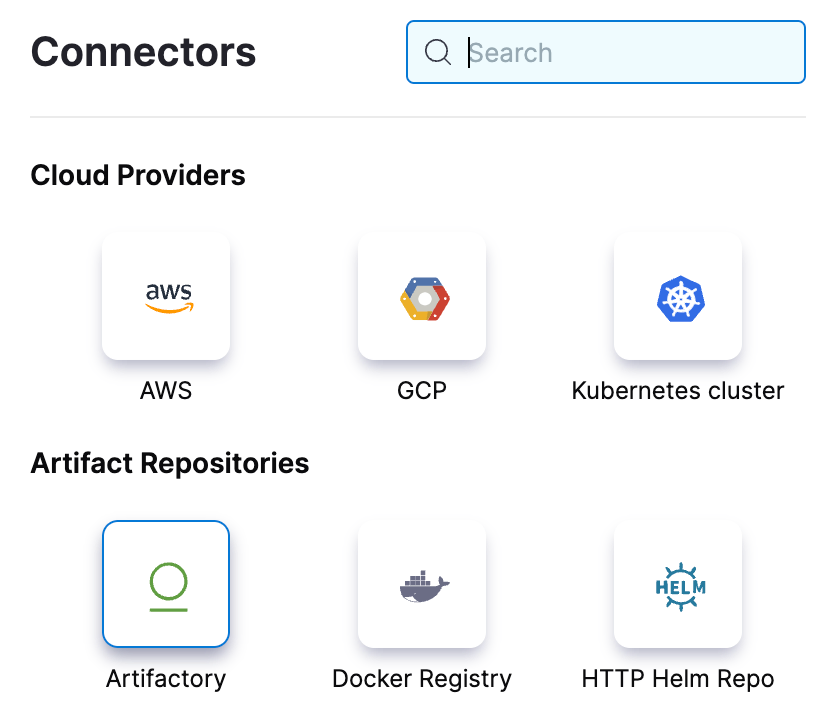
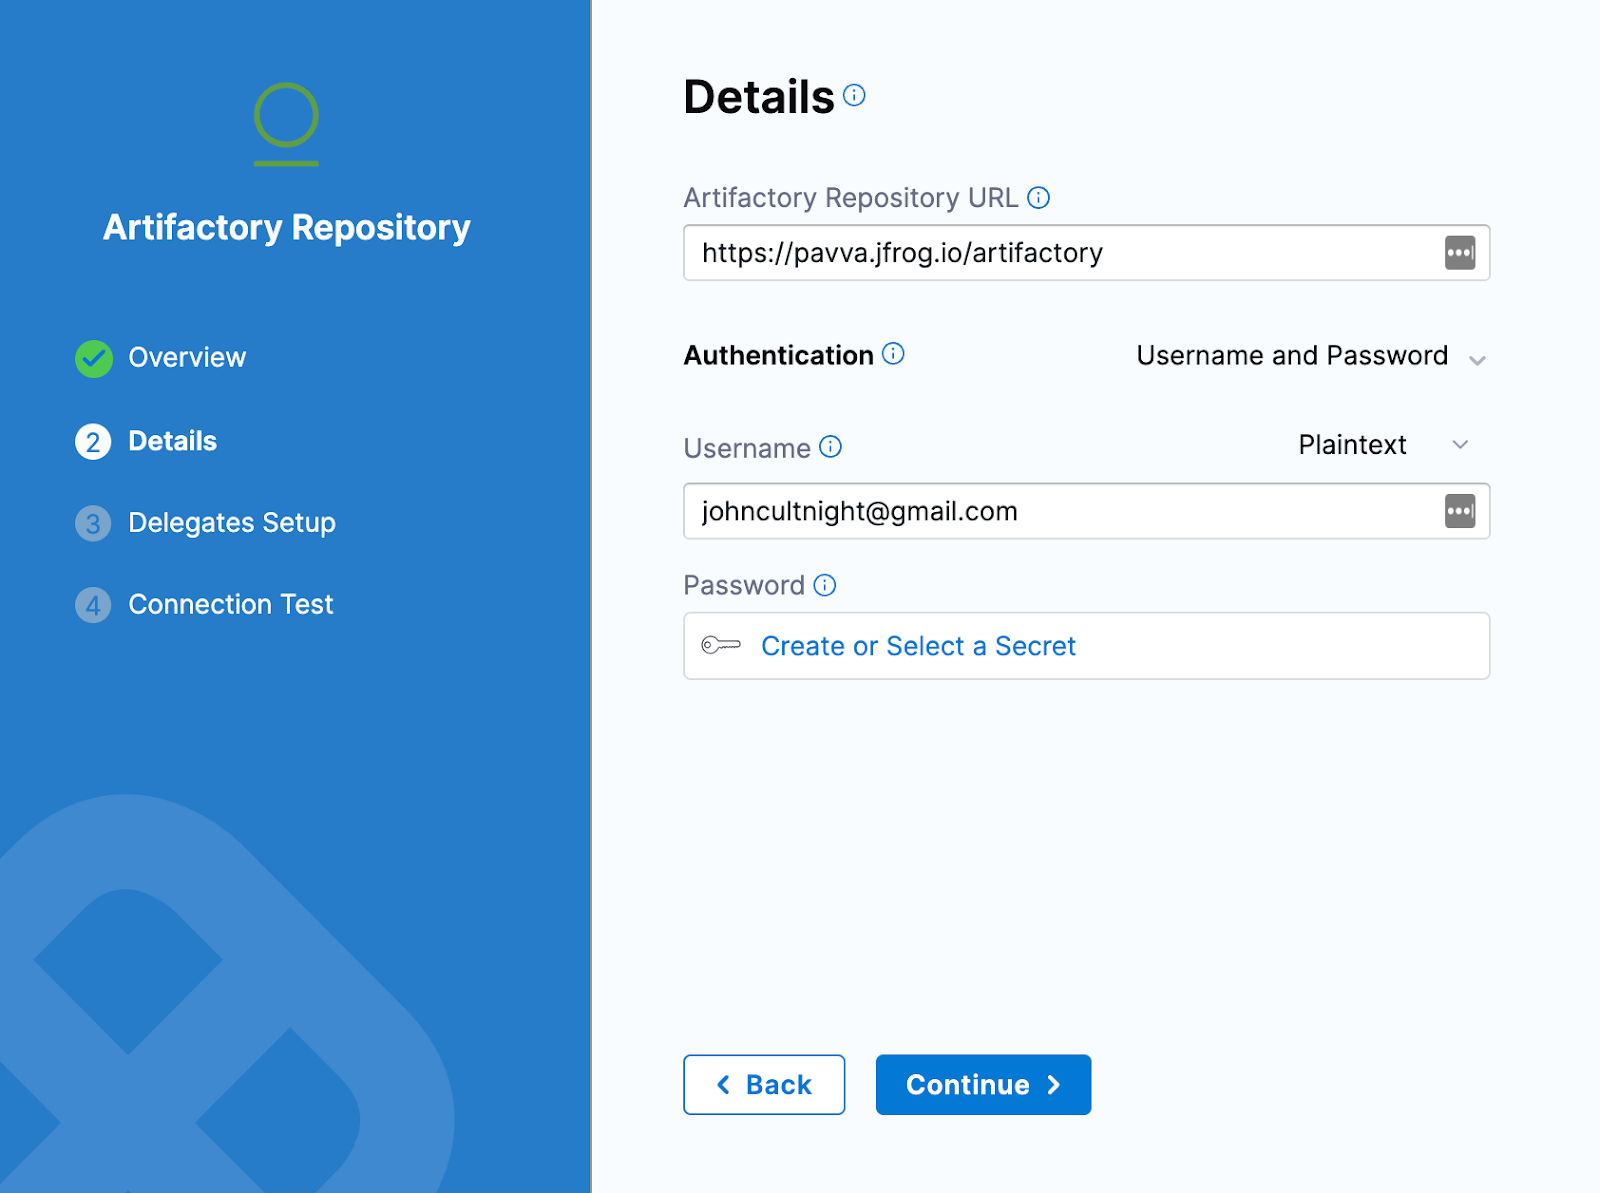
Add your Artifactory details like URL, username, and password. Passwords are securely protected at Harness with a strongly encrypted approach.
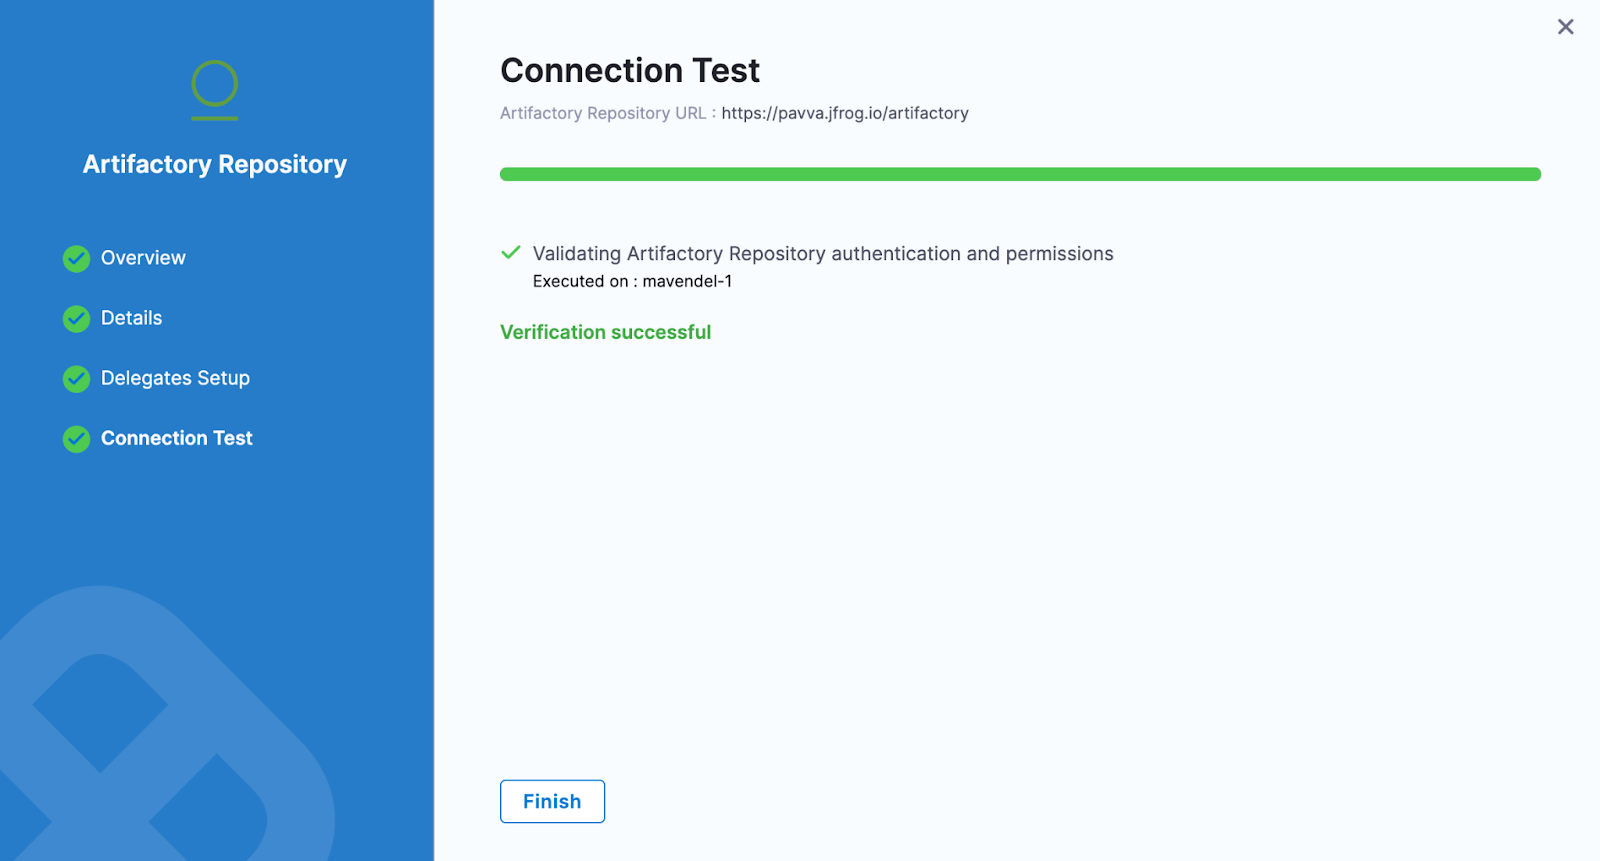
Make sure your connection is successful.
Next, you need to add your repo as a connector. Various code repository management platforms are supported at Harness. Since our code is on GitHub, we will select Git.
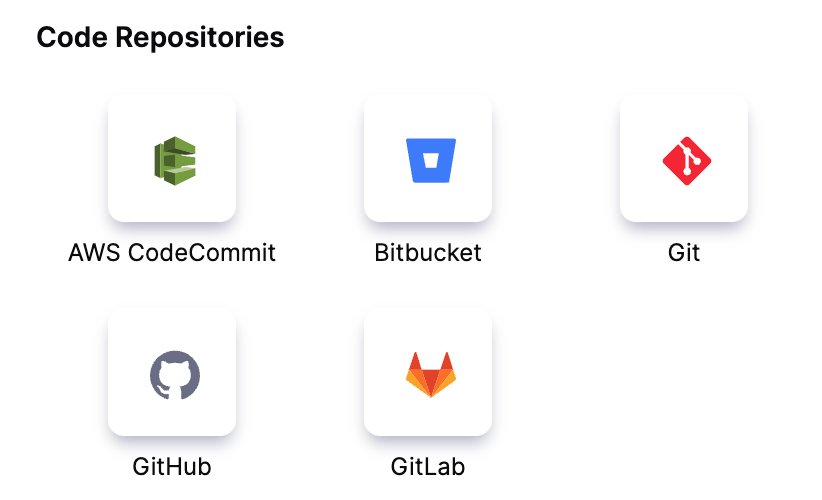
After selecting Git, add the repository details.
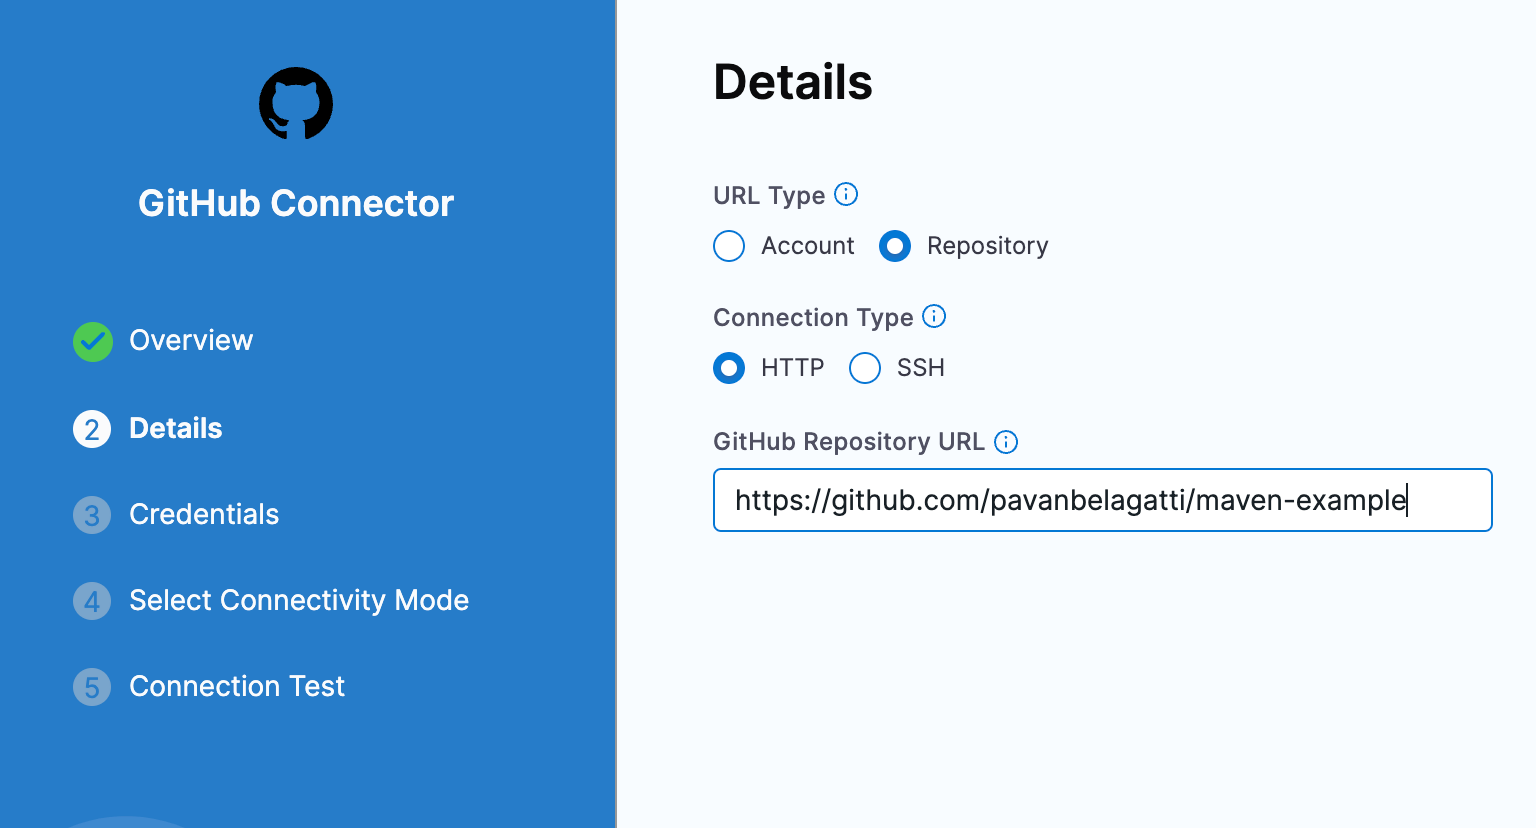
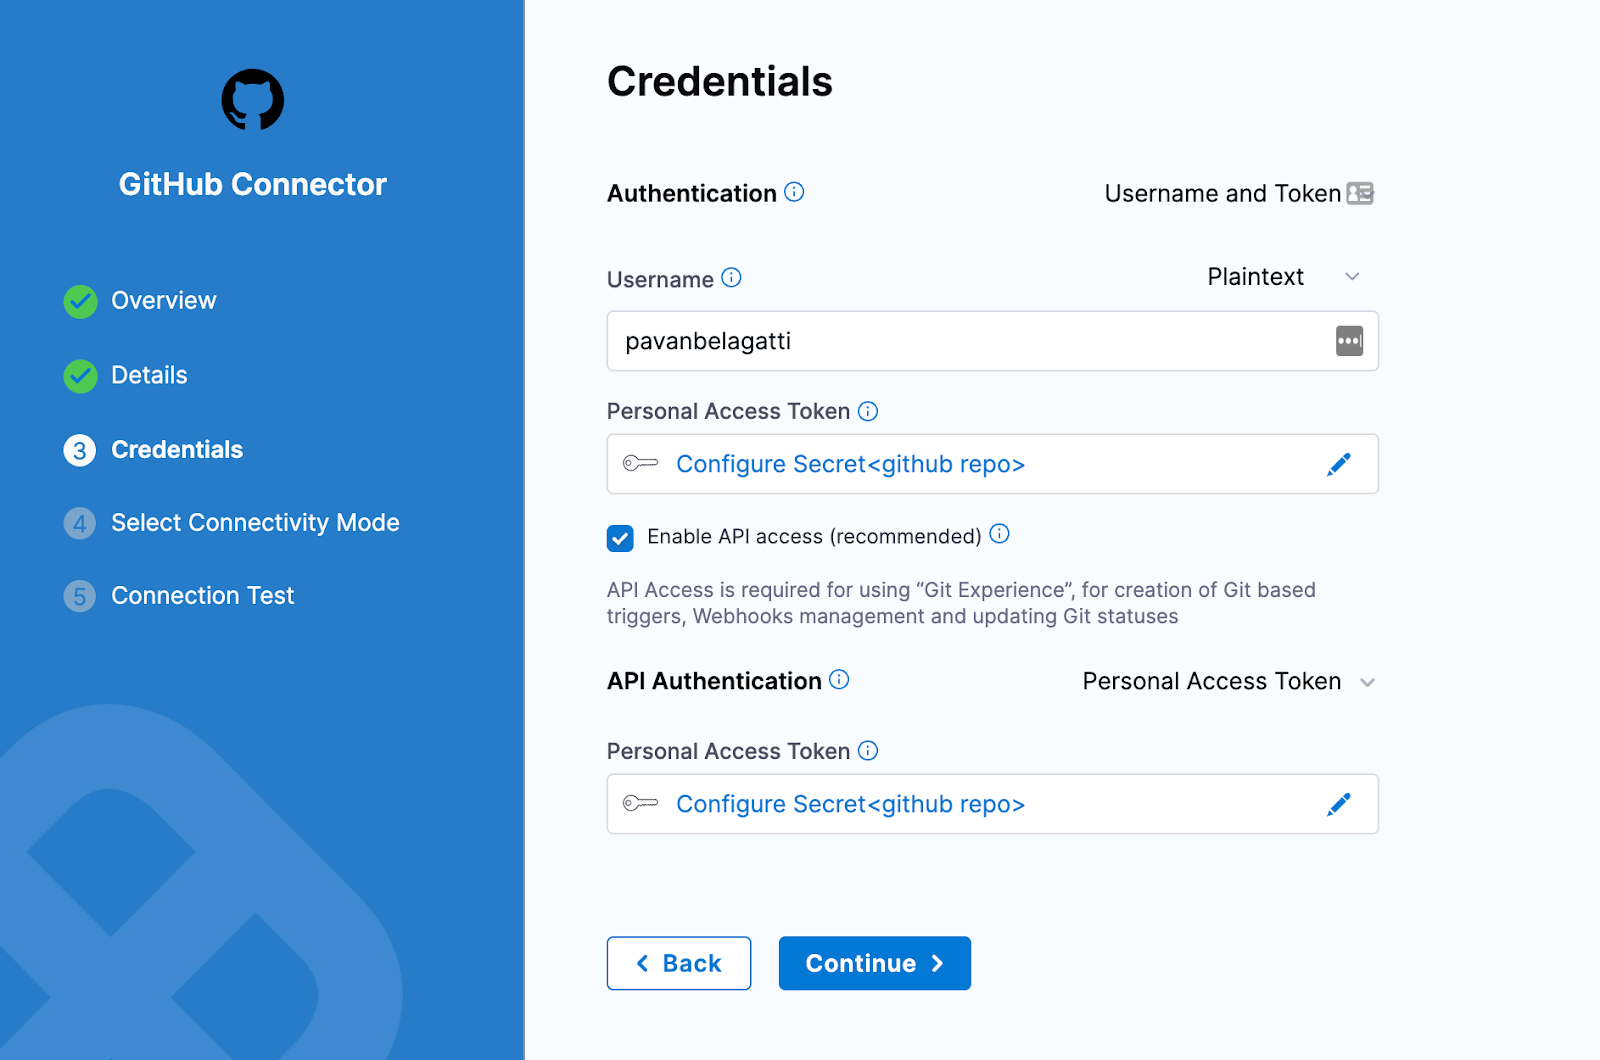
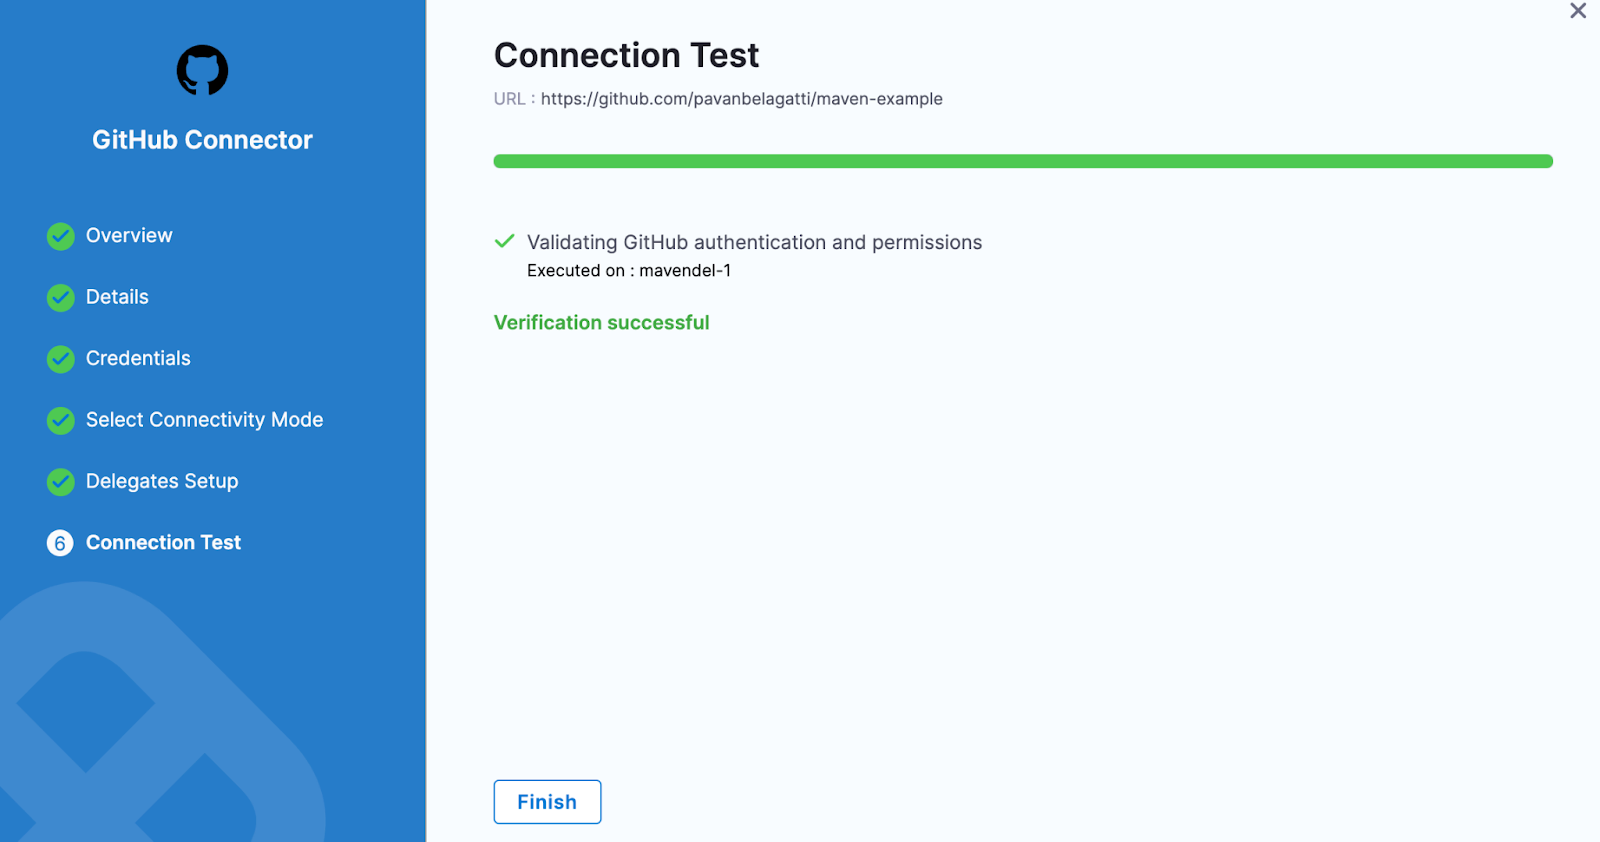
Make sure the connection is successful.
Now, go to creating the pipeline step and add all the relevant details.
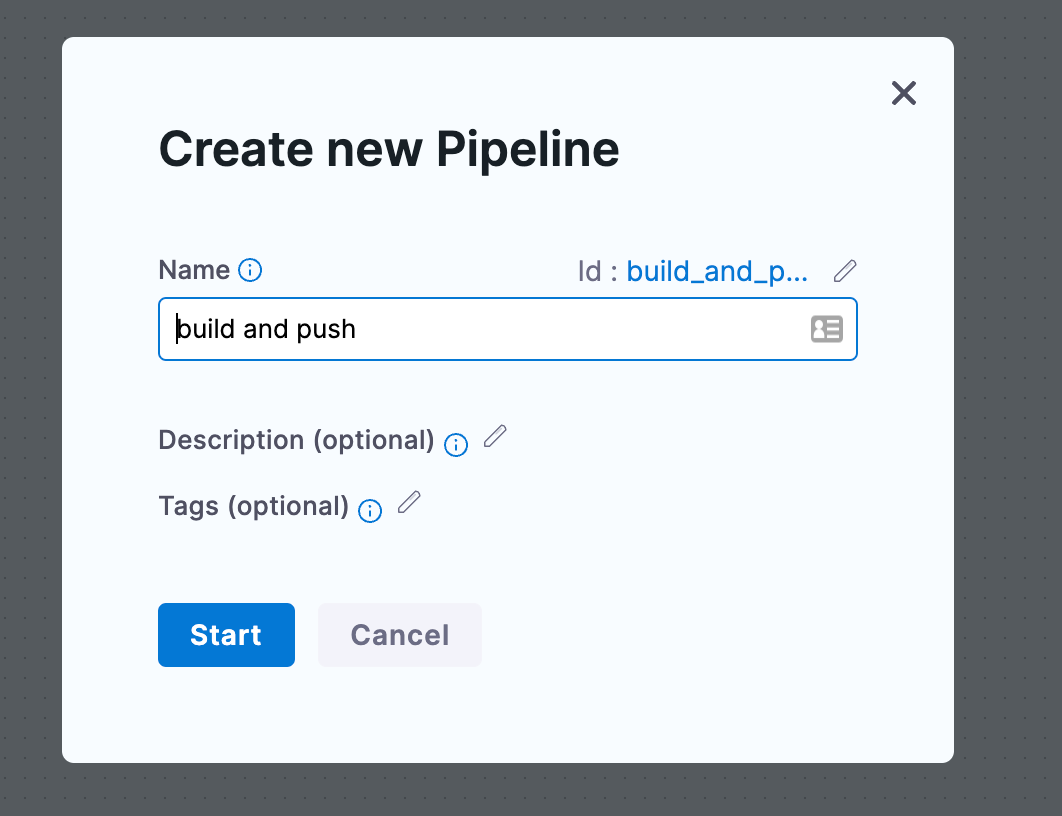
Name the pipeline and proceed.
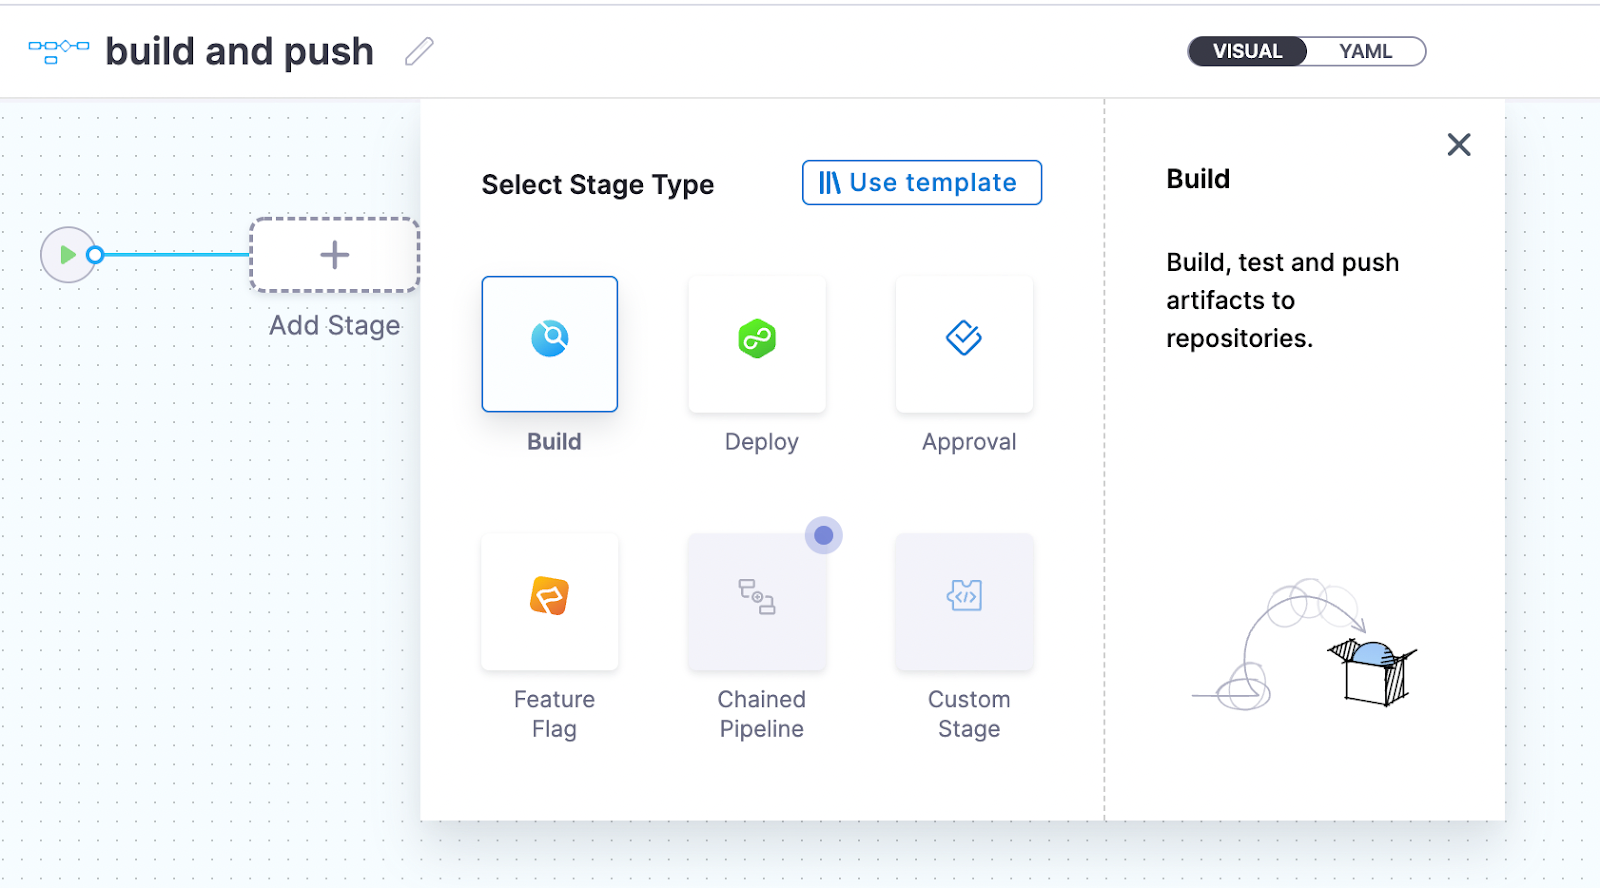
Then select Build as the stage.
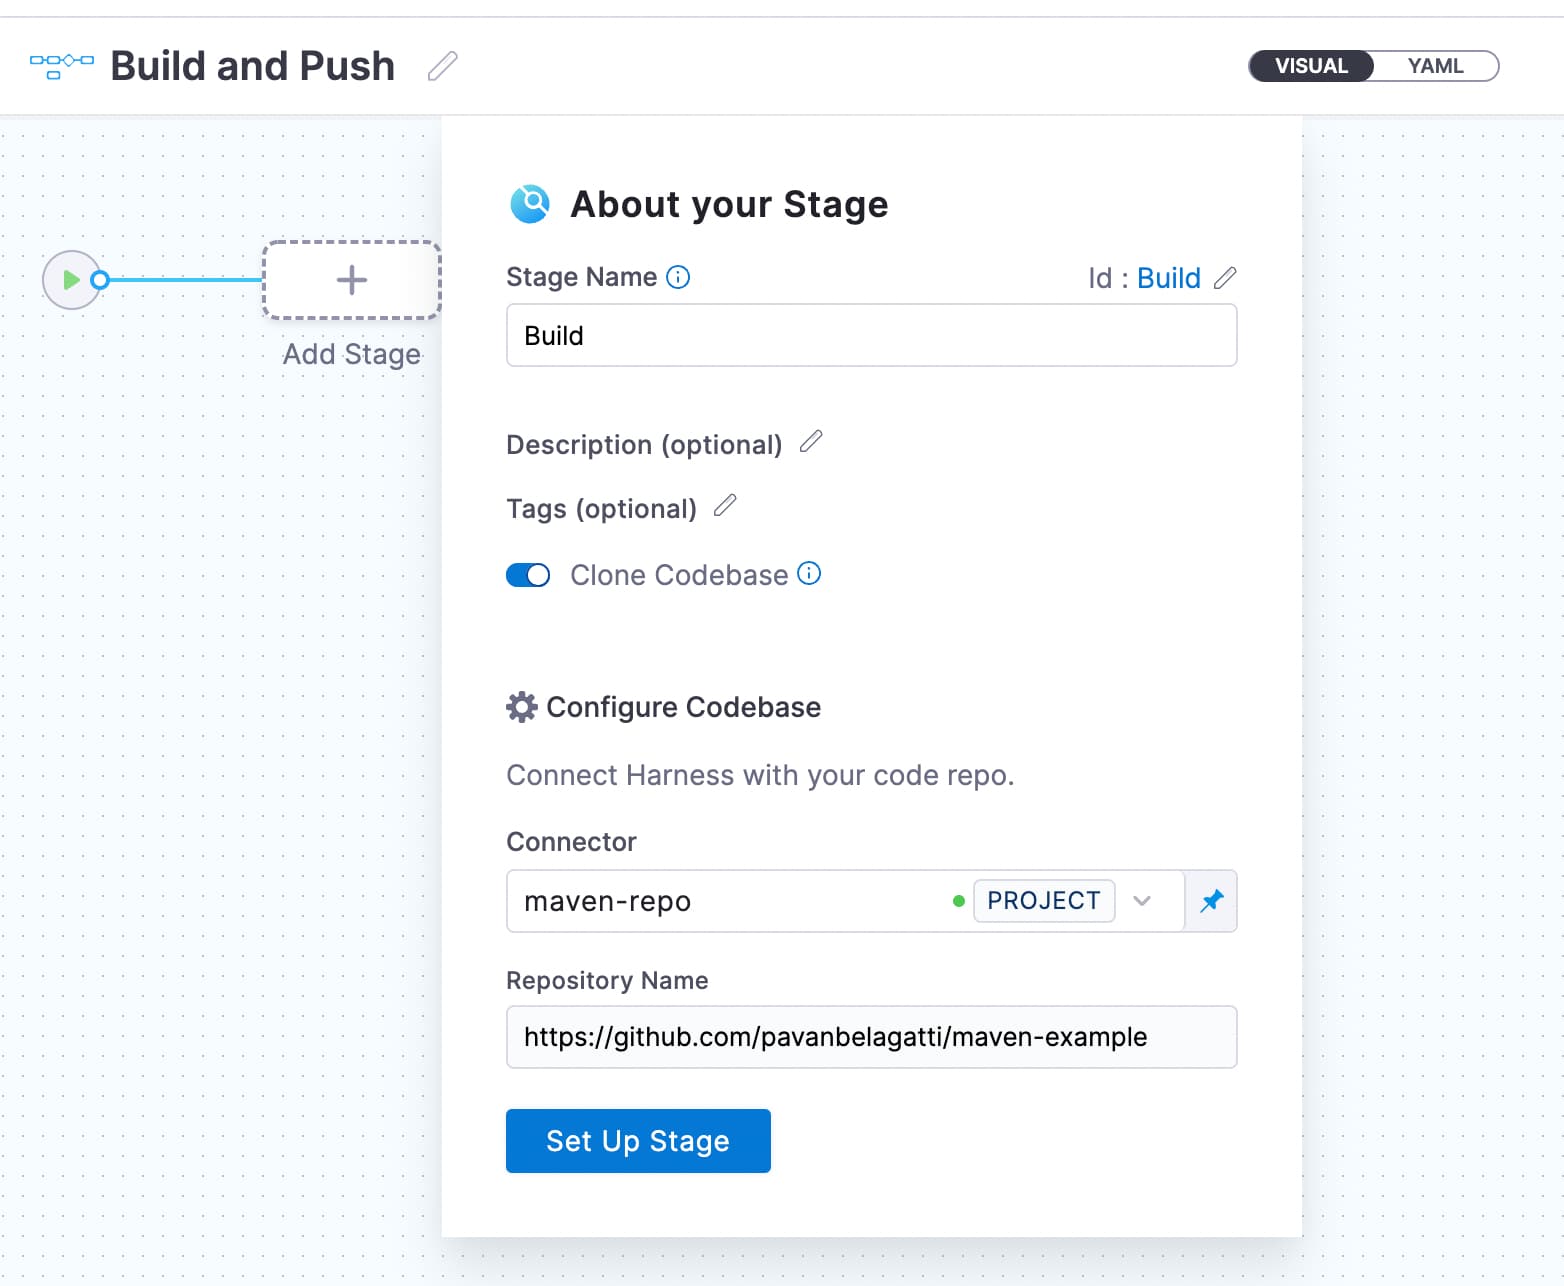
This step fetches our already connected GitHub repo and the connector. Click on set up stage.
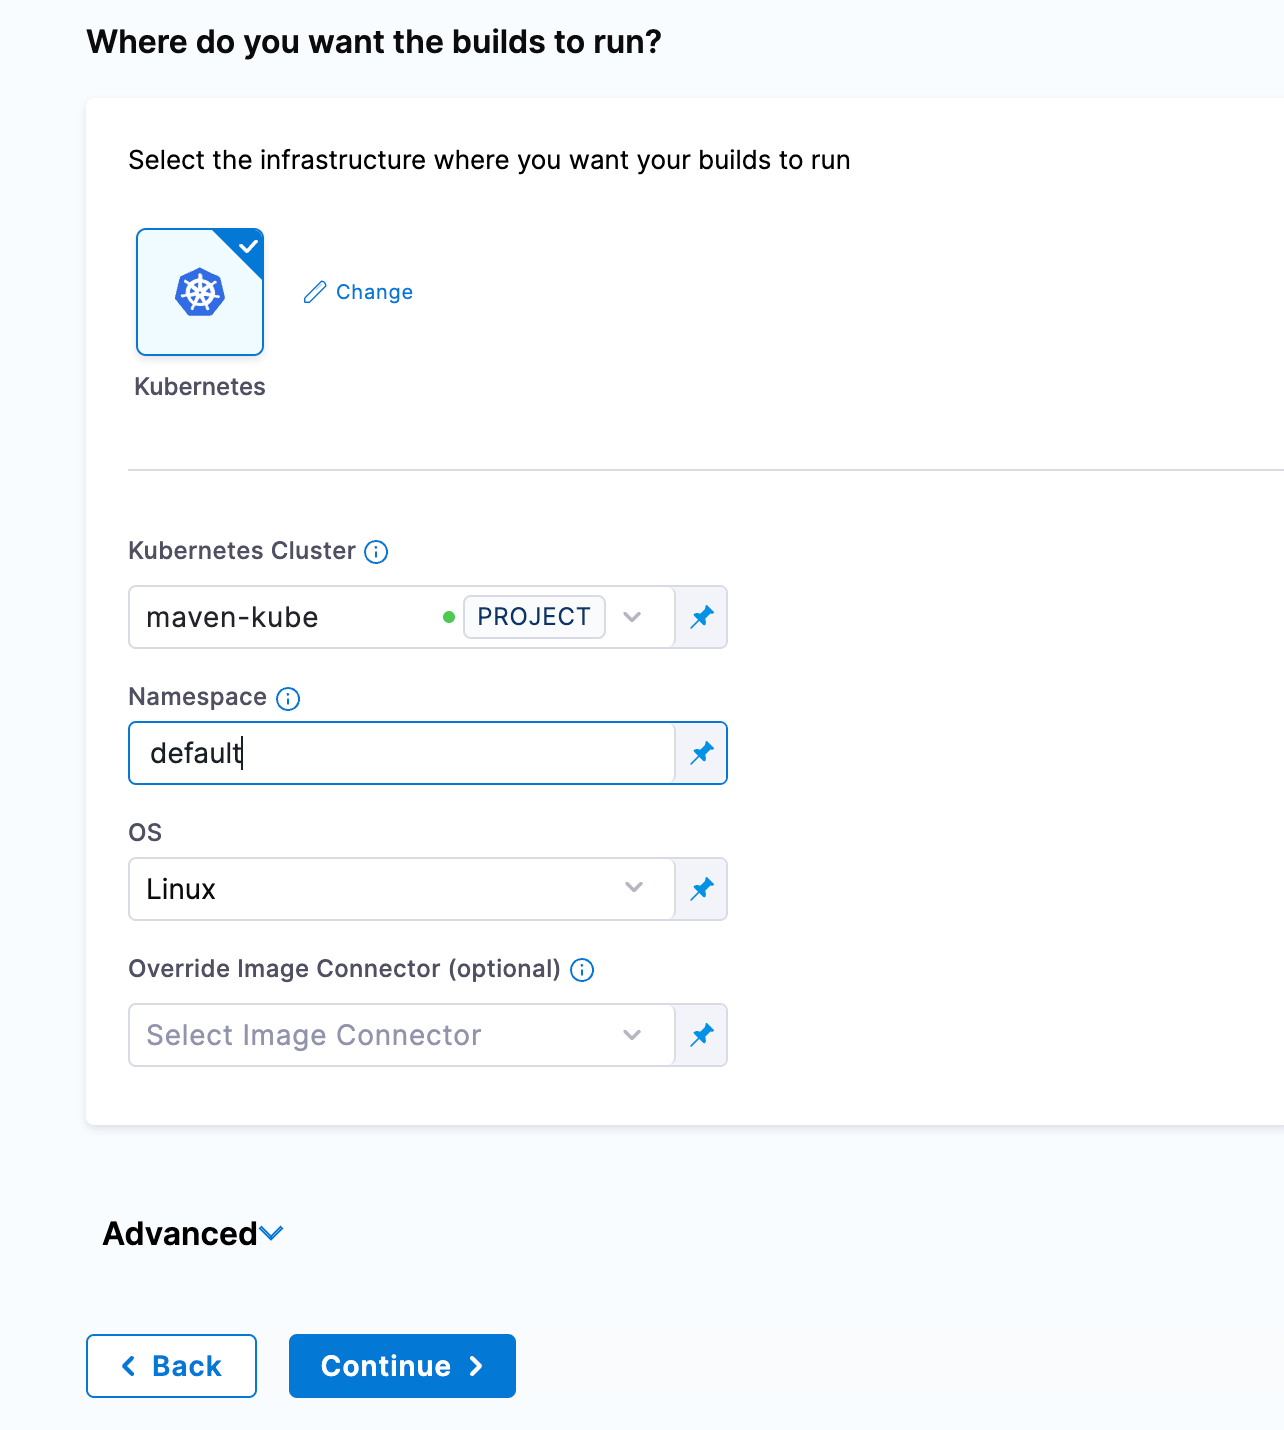
Next, define the infrastructure. We are using a Kubernetes cluster, and we will specify the same.
.webp)
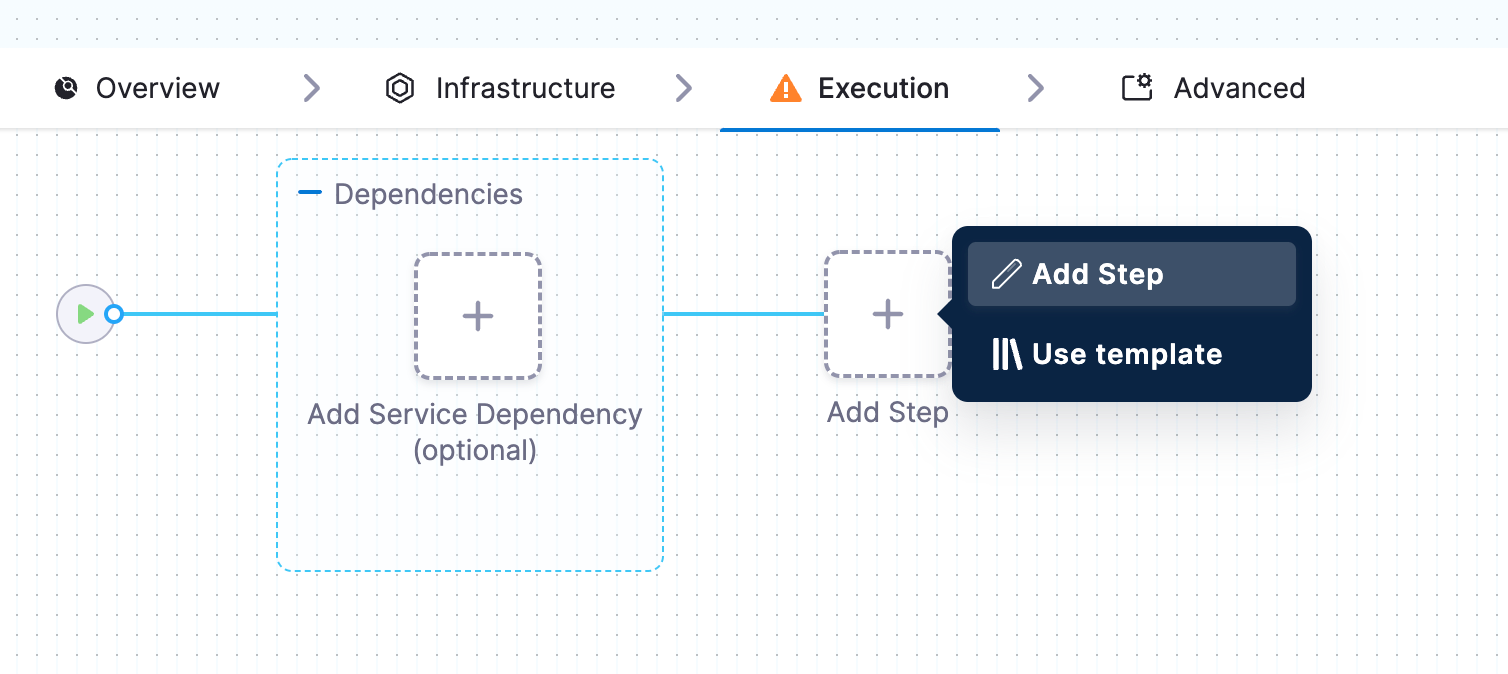
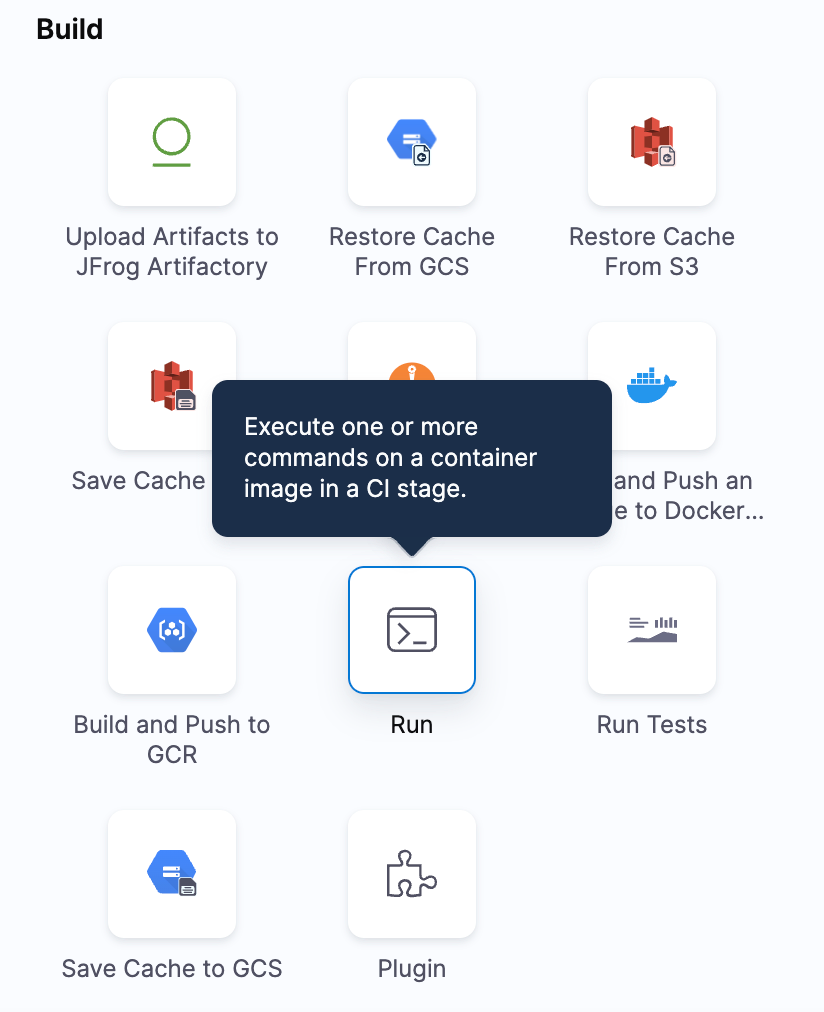
In the execution stage, Add Step and select Run.
One more connector to add is our DockerHub Registry. Let’s add that as a connector.
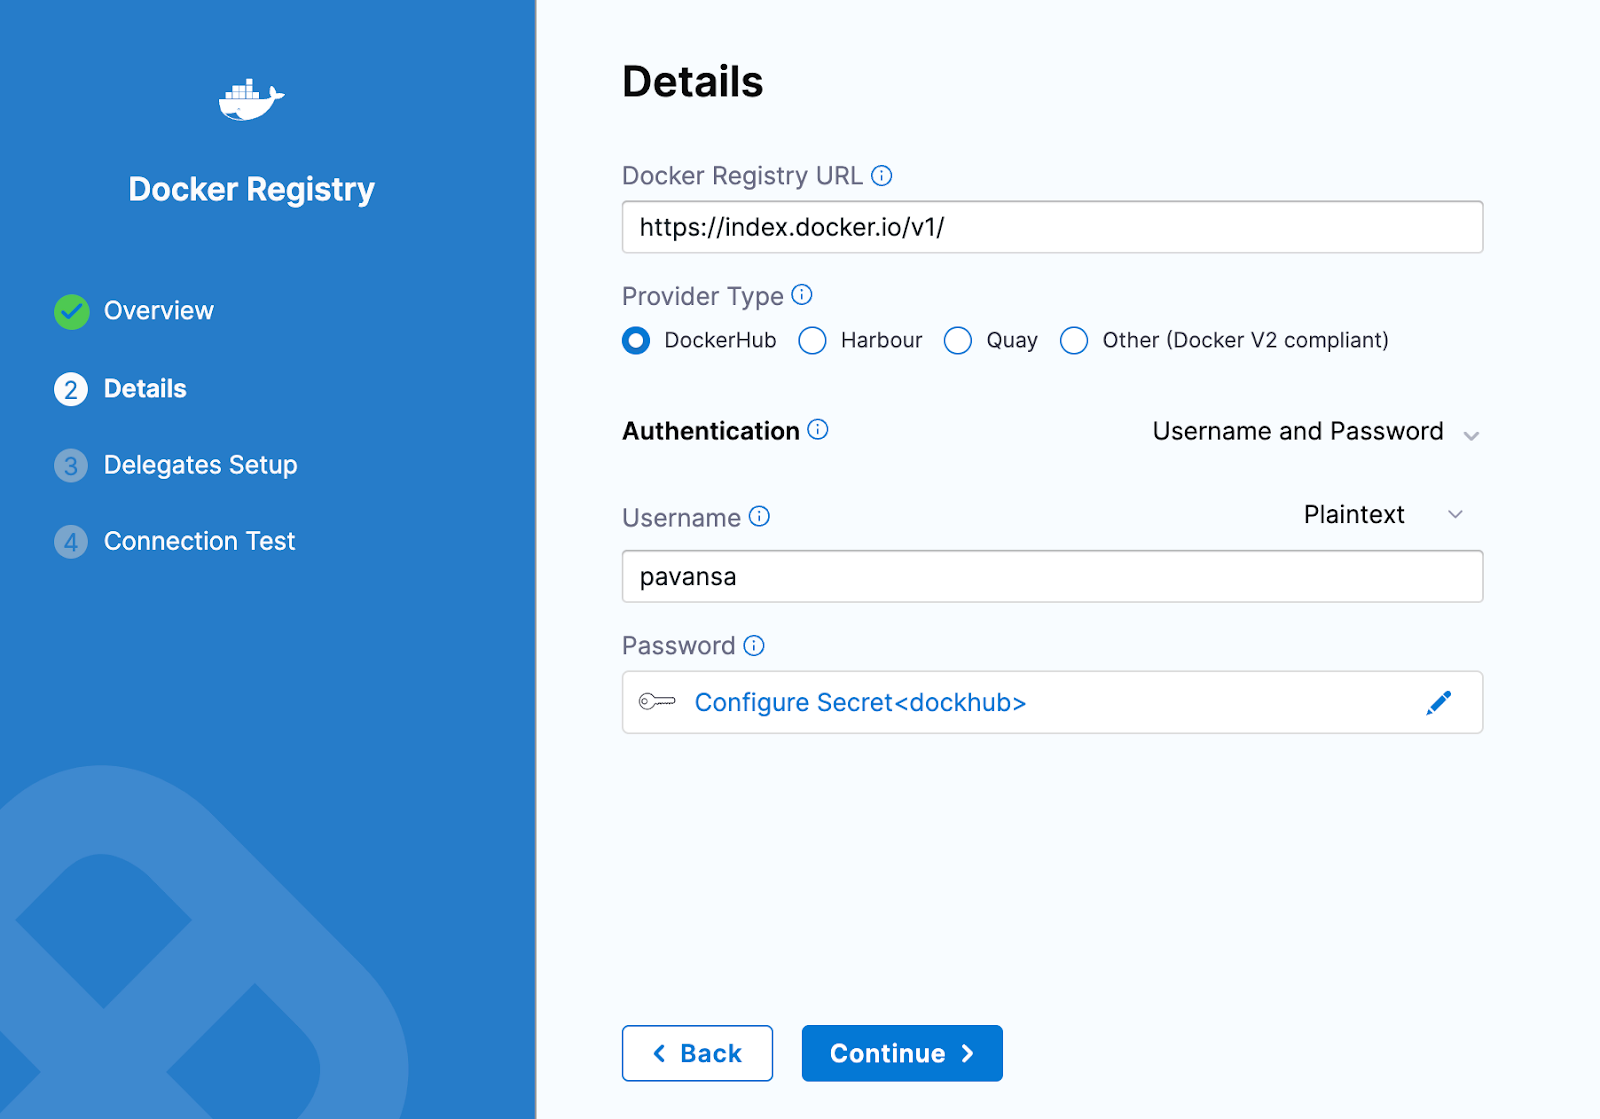
Make sure the connection is successful.
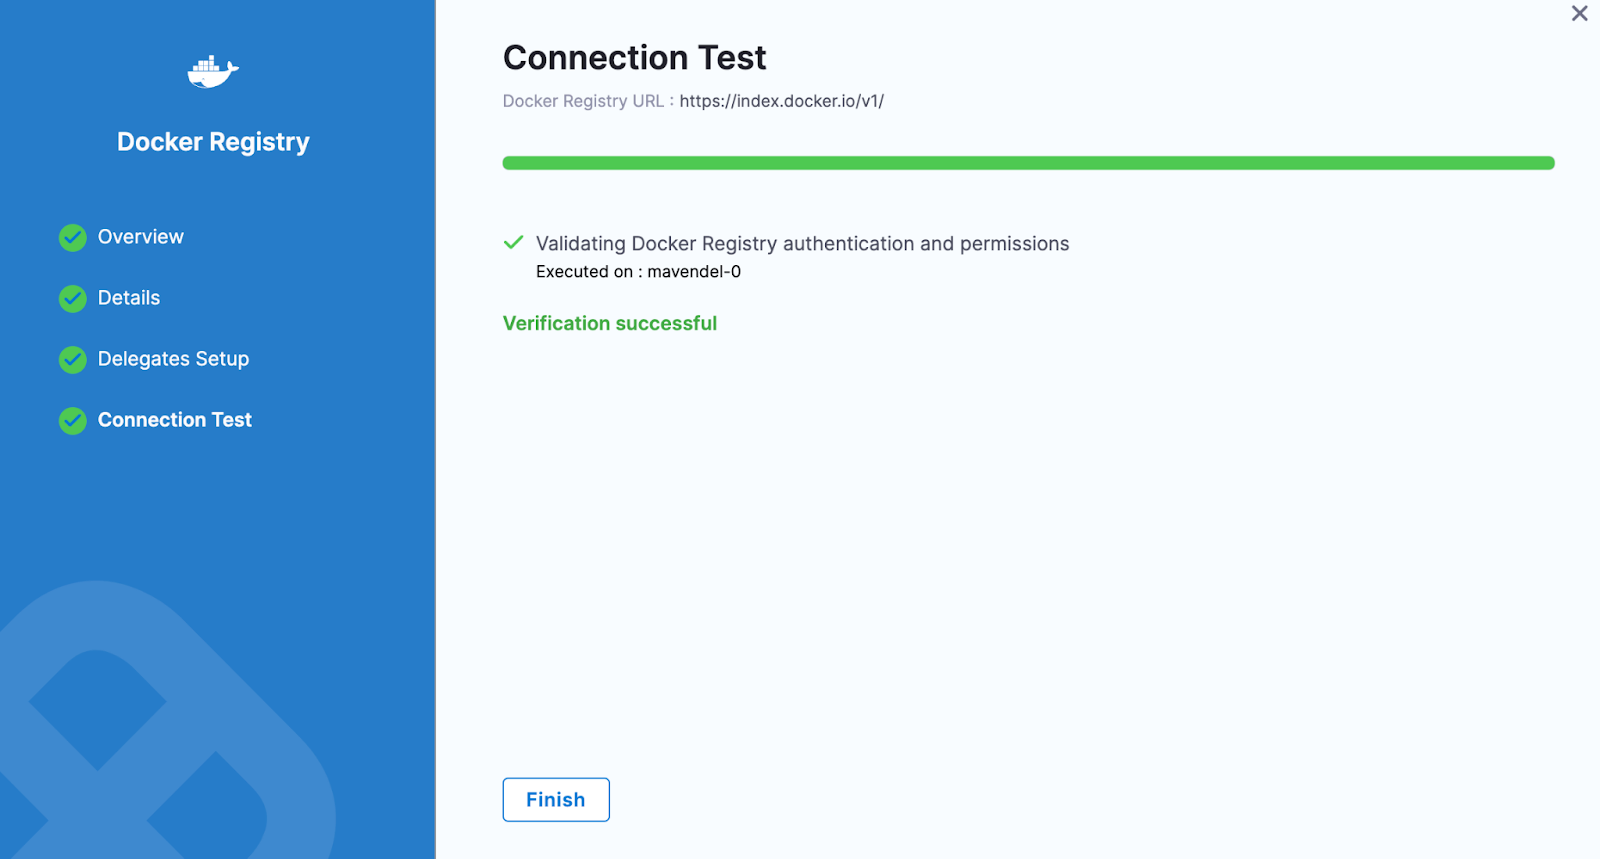
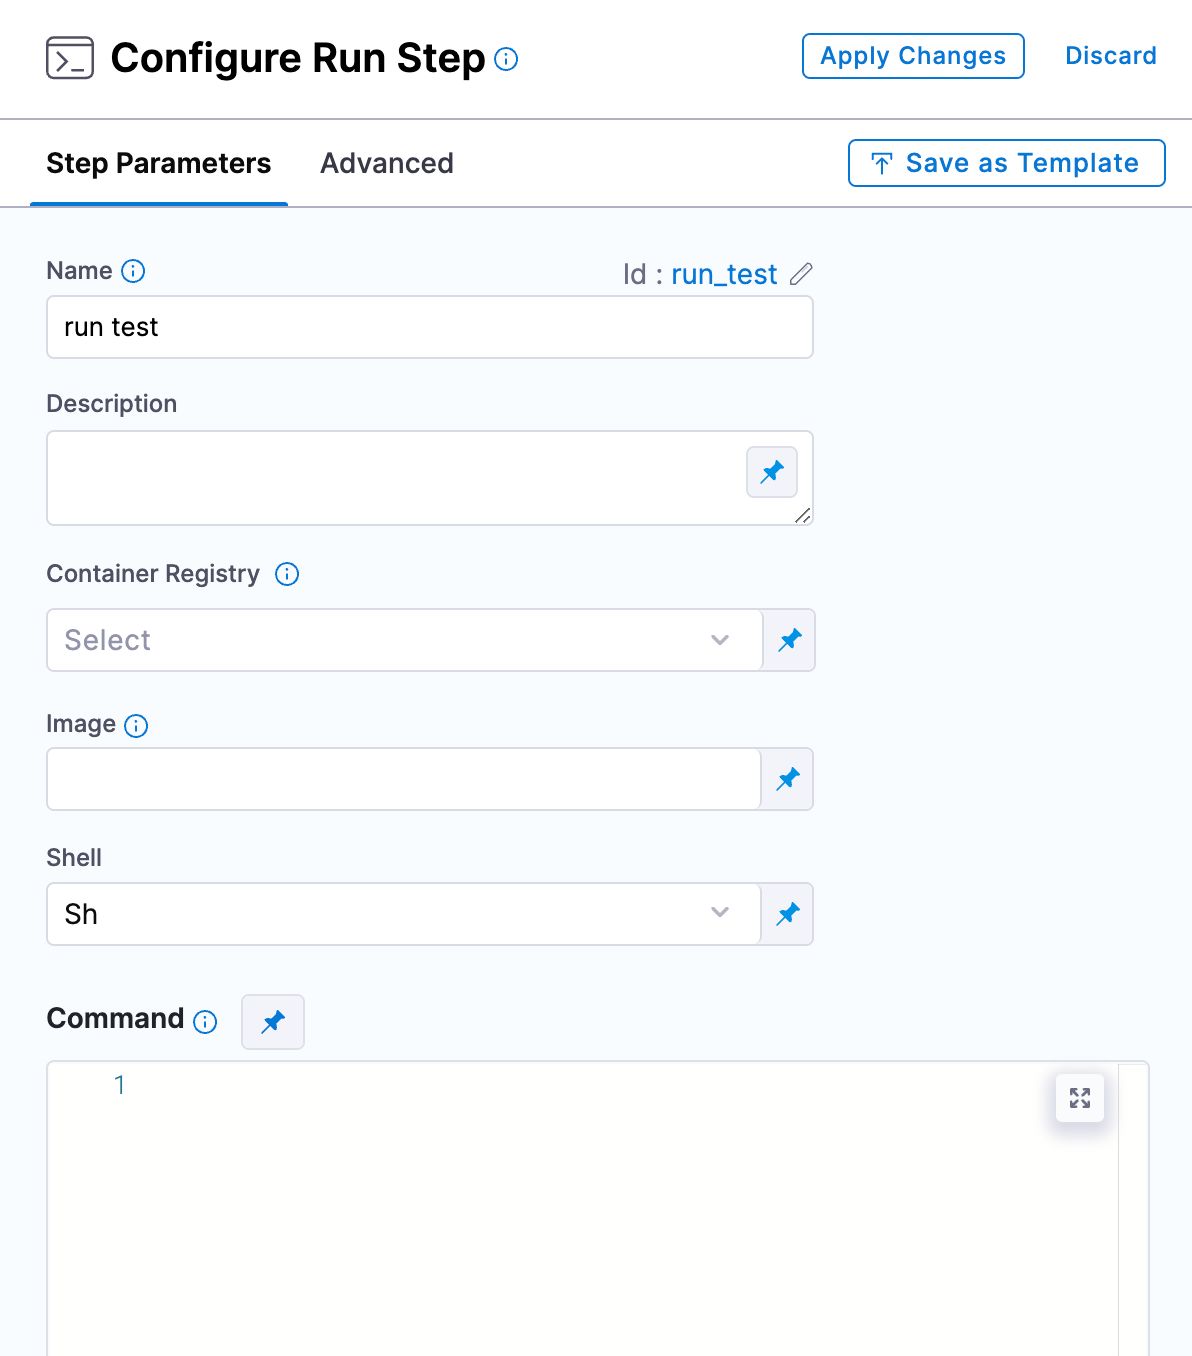
Configure the run setup with the details required like name, docker registry connector, image, and command.
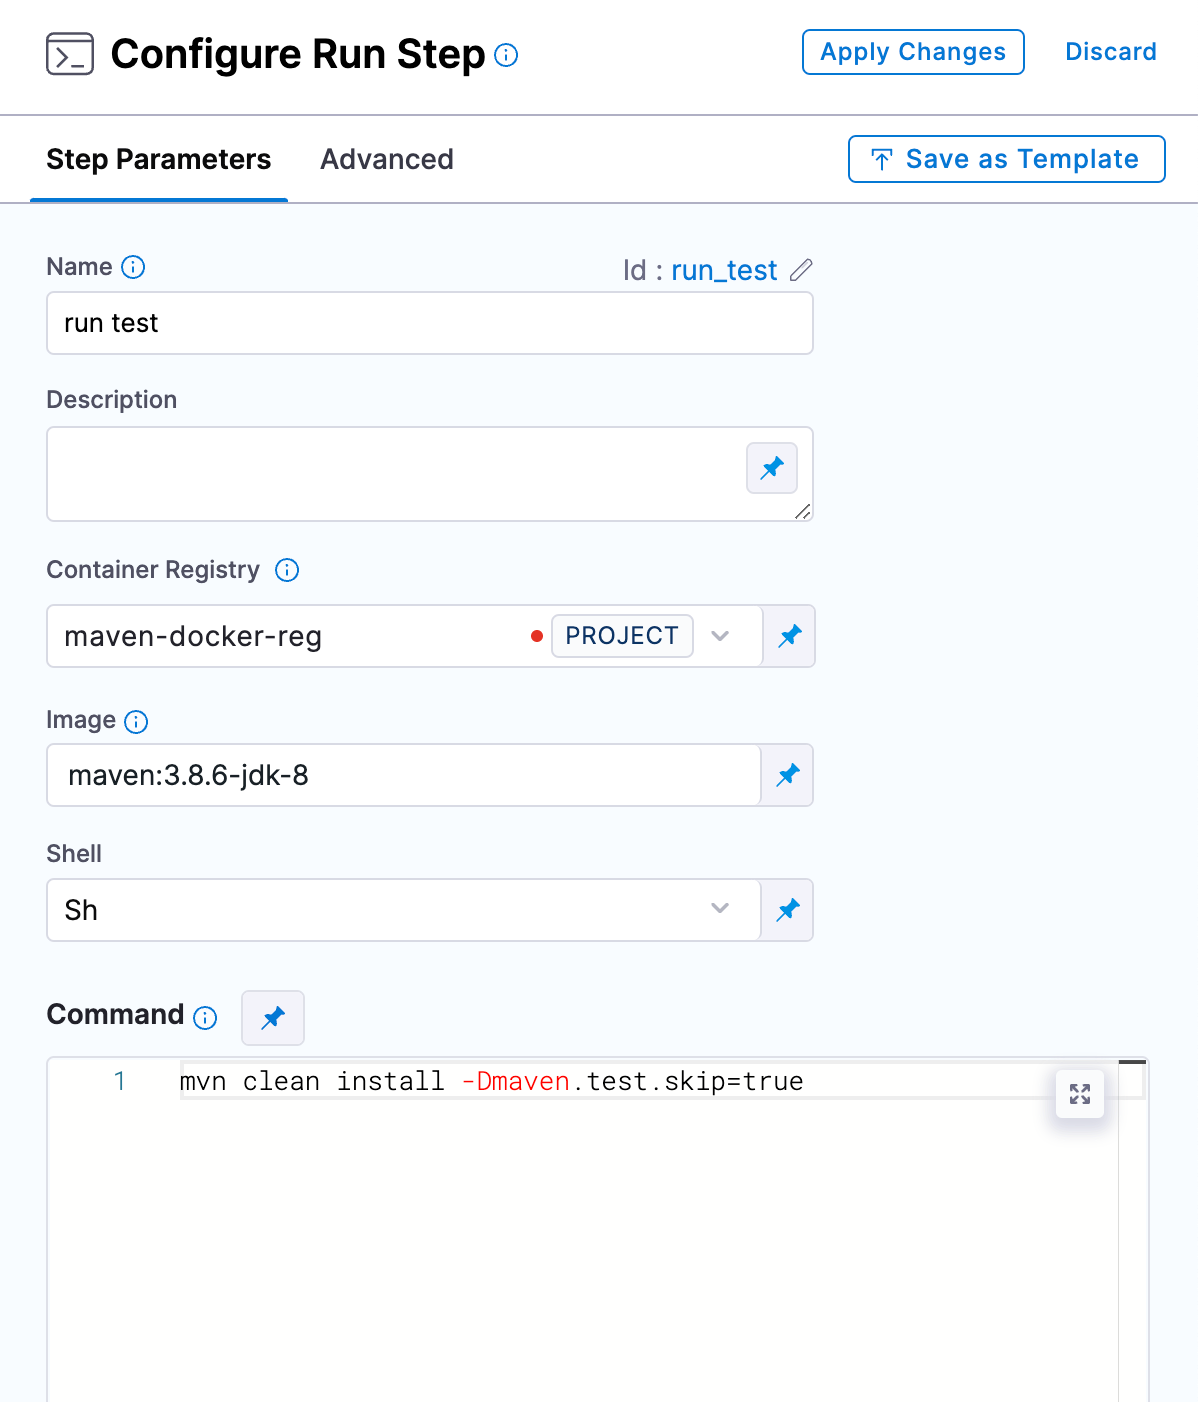
After adding the run step, add another step to push the build artifacts to the Artifactory.
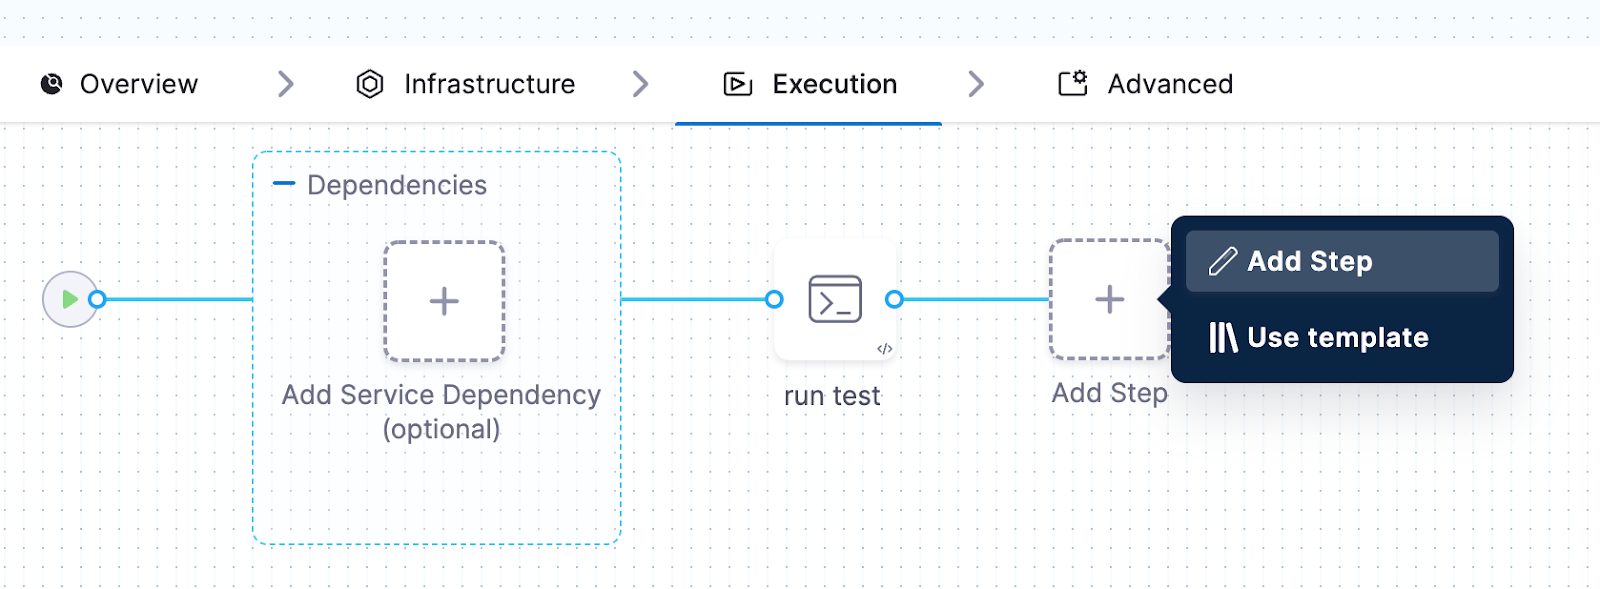
Select JFrog Artifactory.
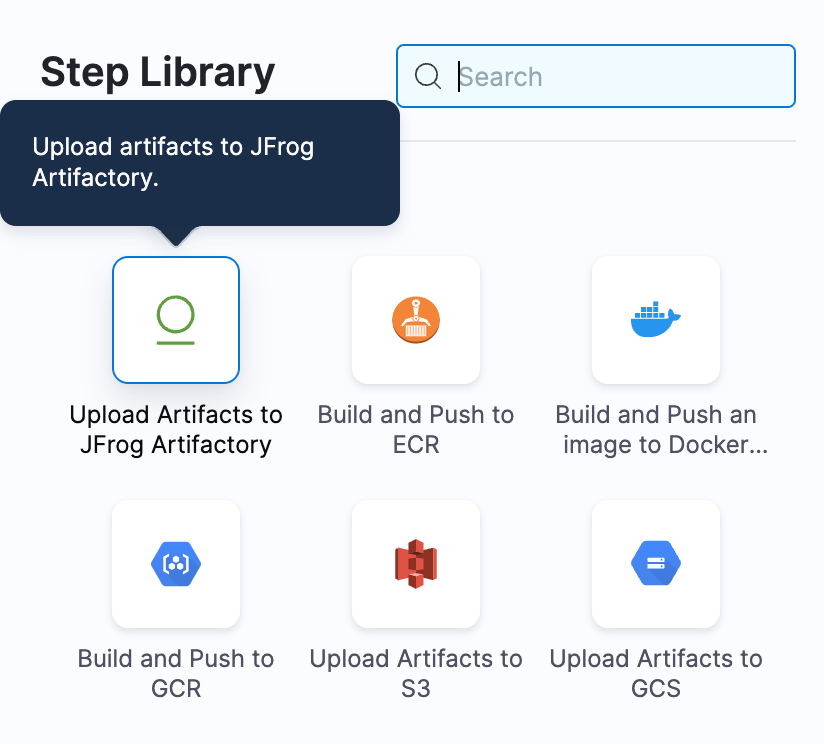
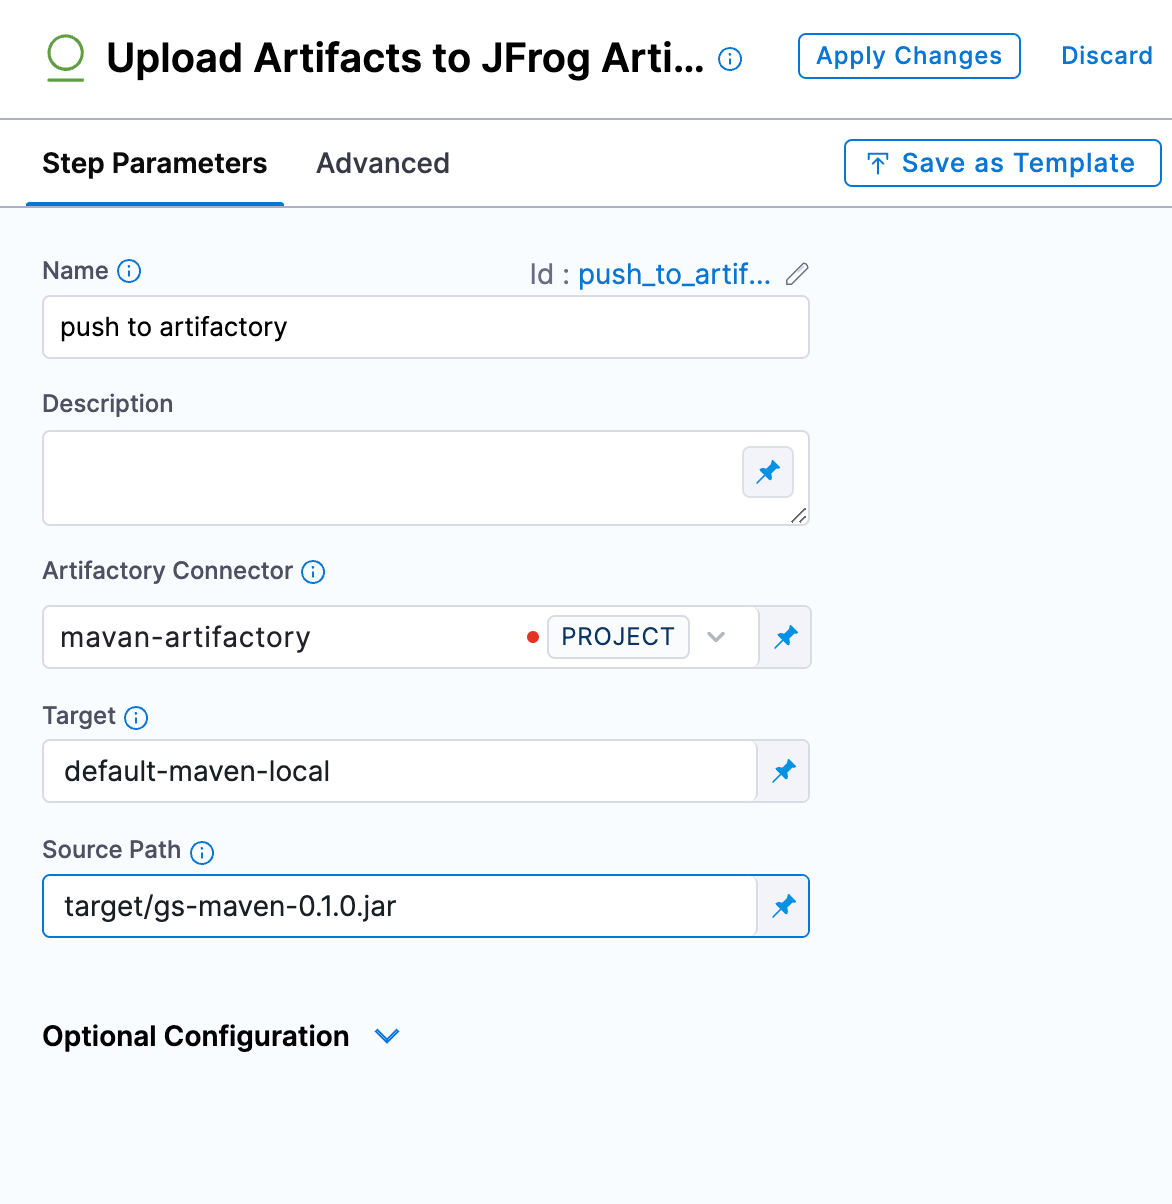
Mention the details required as we did in the previous step. Just make sure your target and source path is correct.
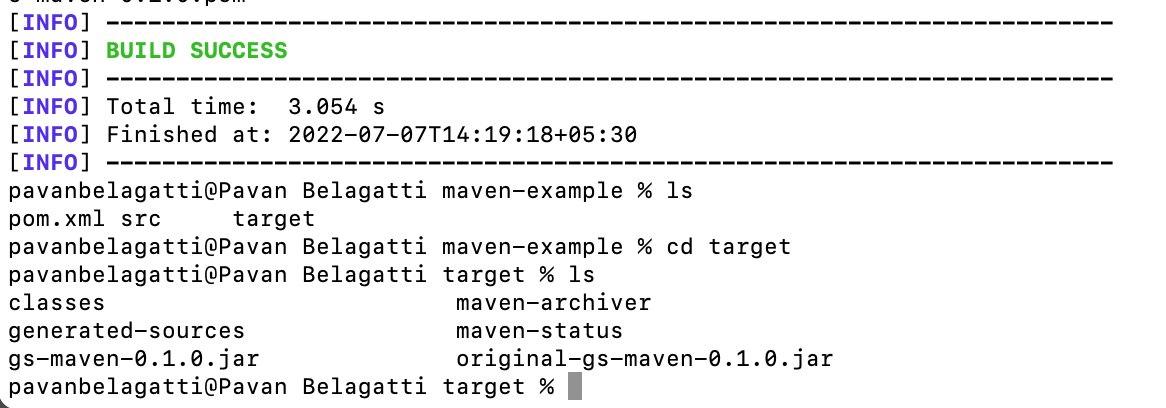
You can see your source path in the target folder of your project after you run mvn install
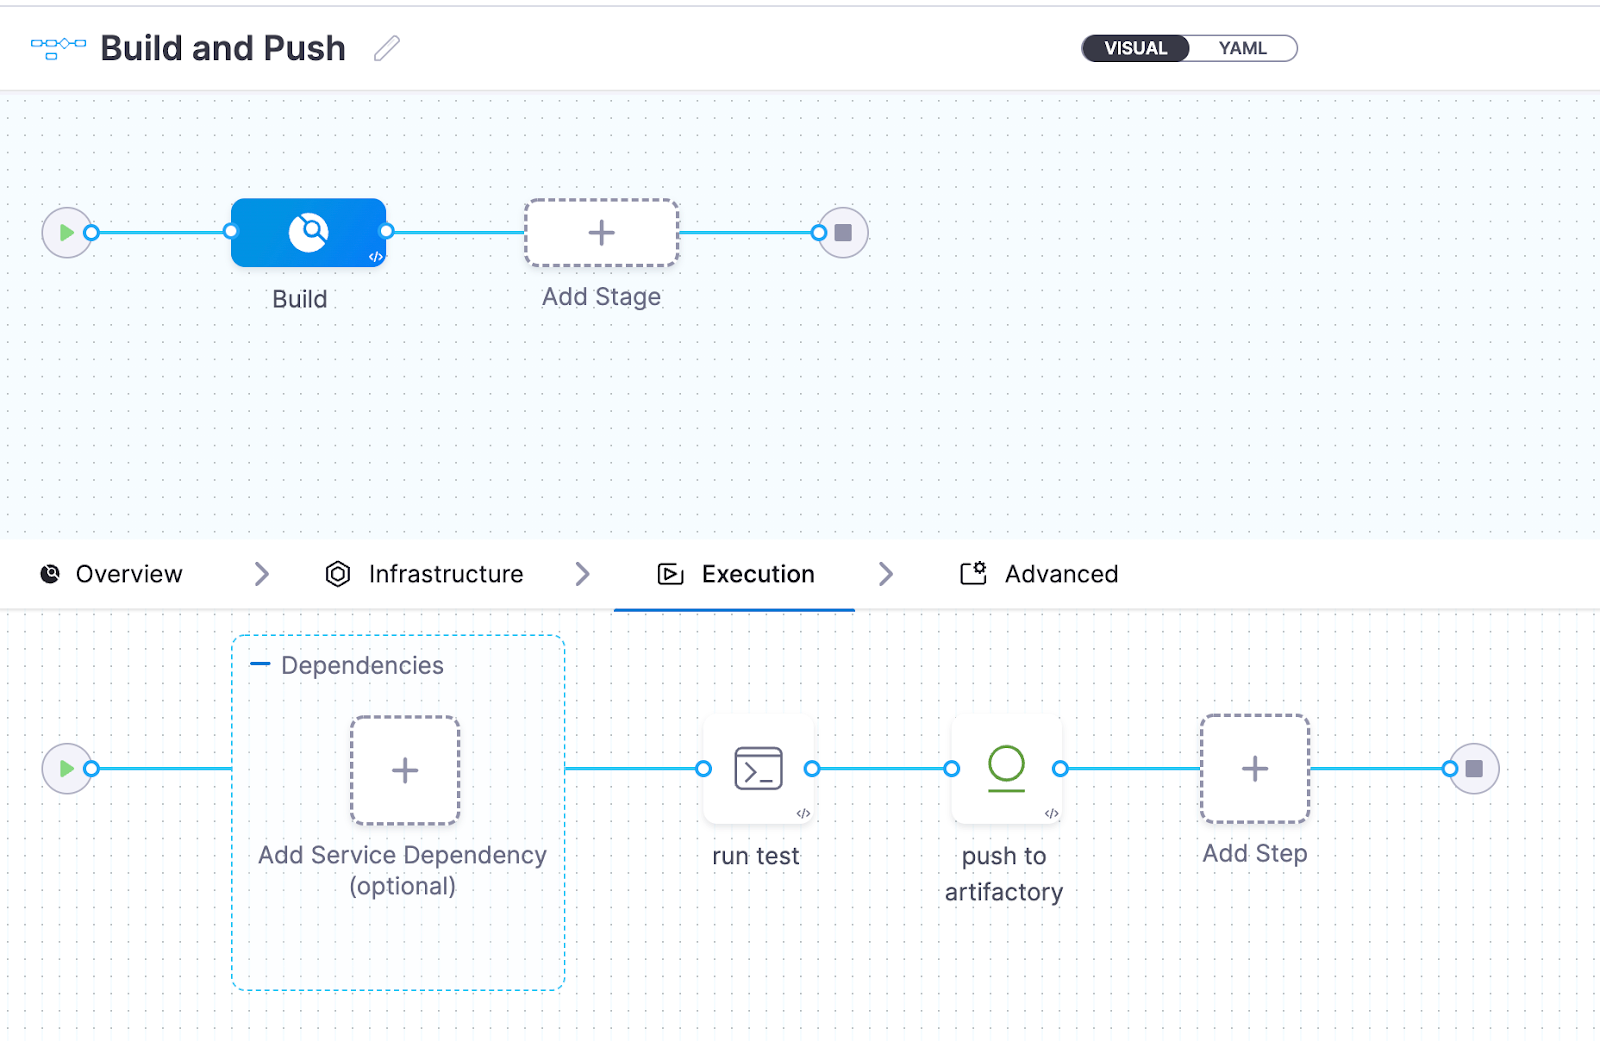
Now, we are all set. Save the settings and run the pipeline.
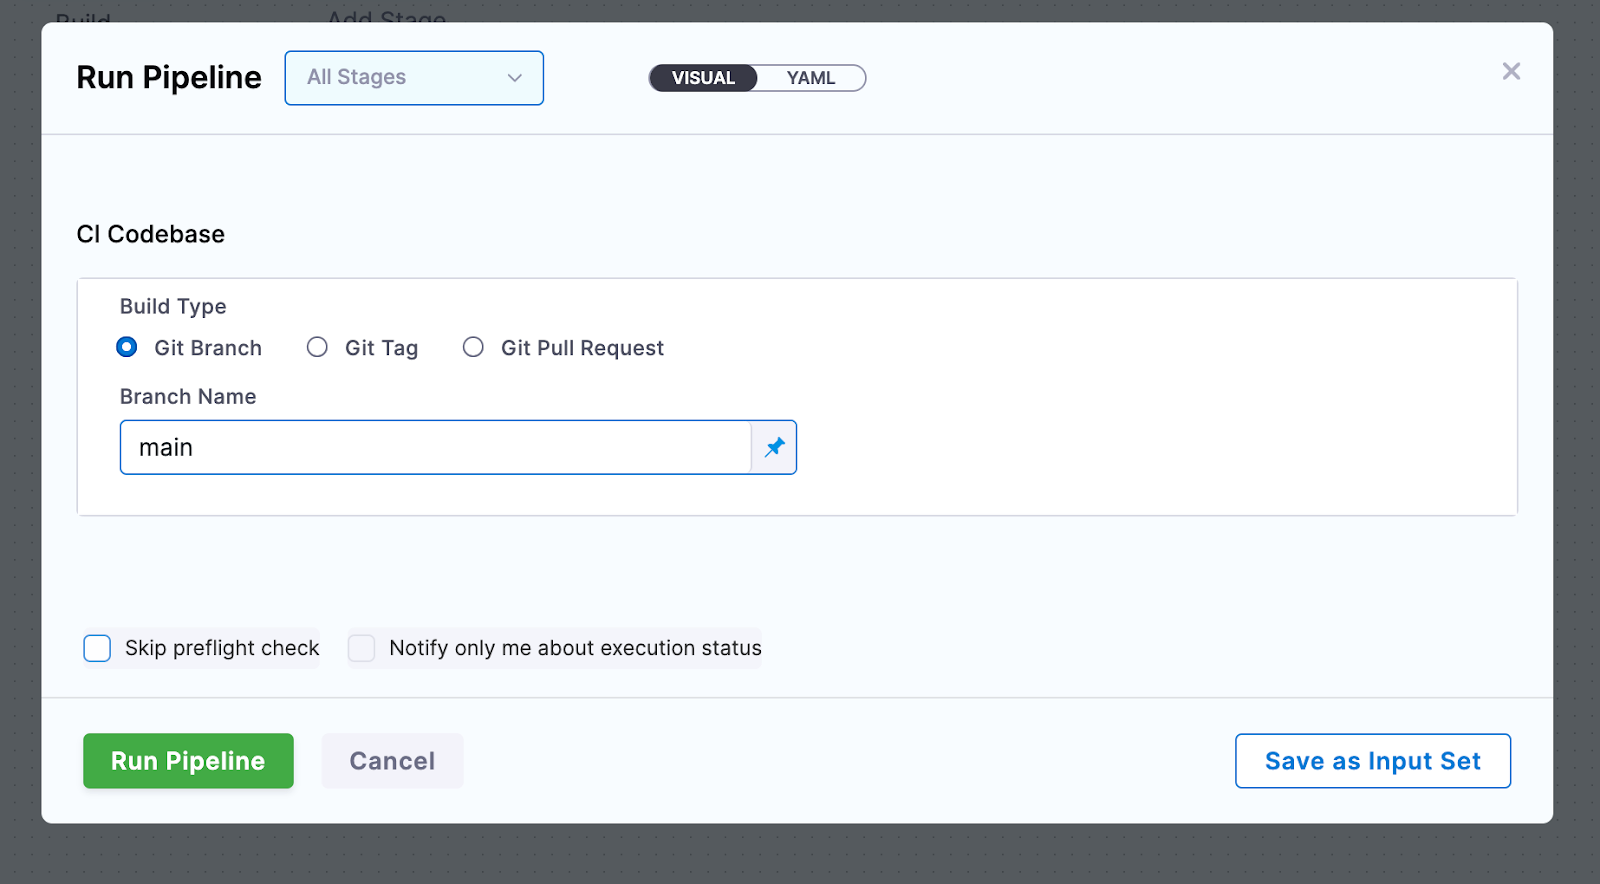
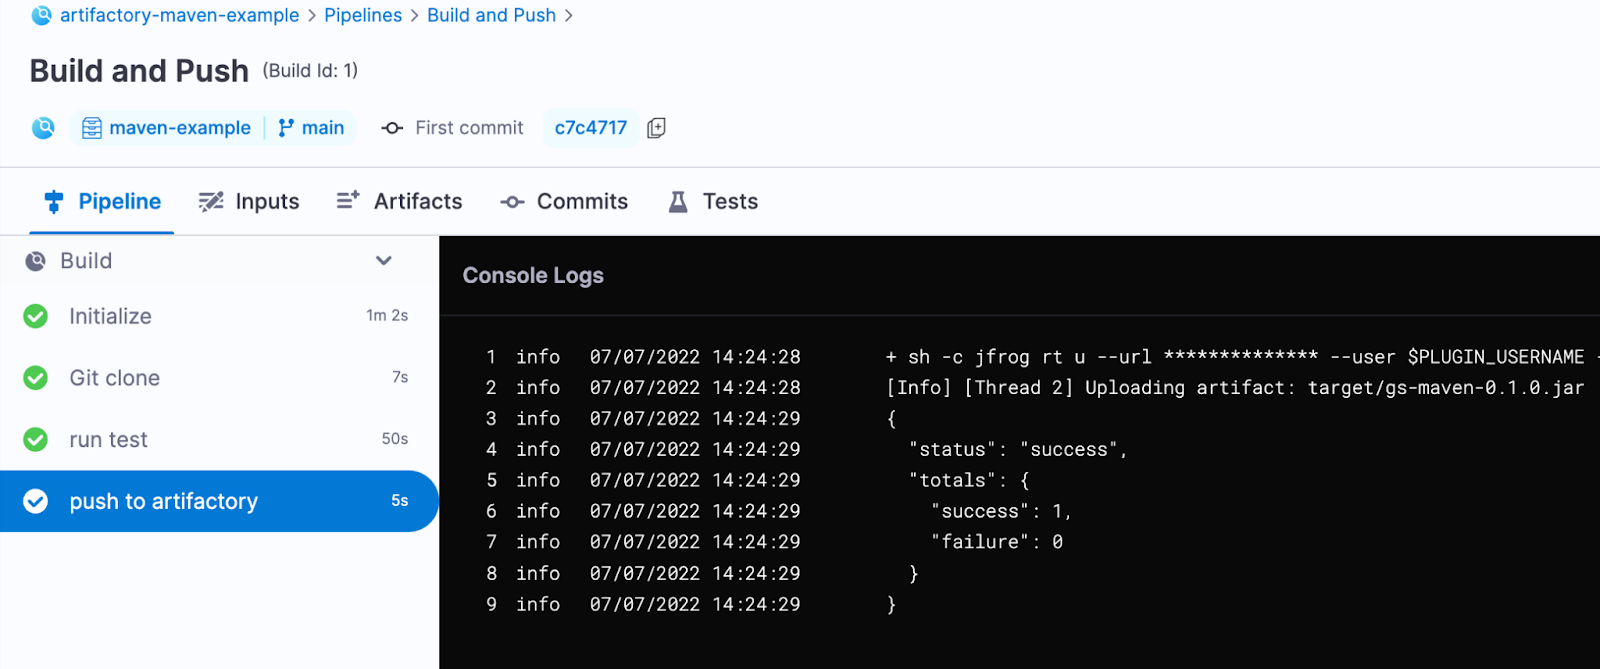
After the successful execution of all the steps, you should see your build artifacts getting pushed to Artifactory. Let’s verify the same by going to our Artifactory account/dashboard.
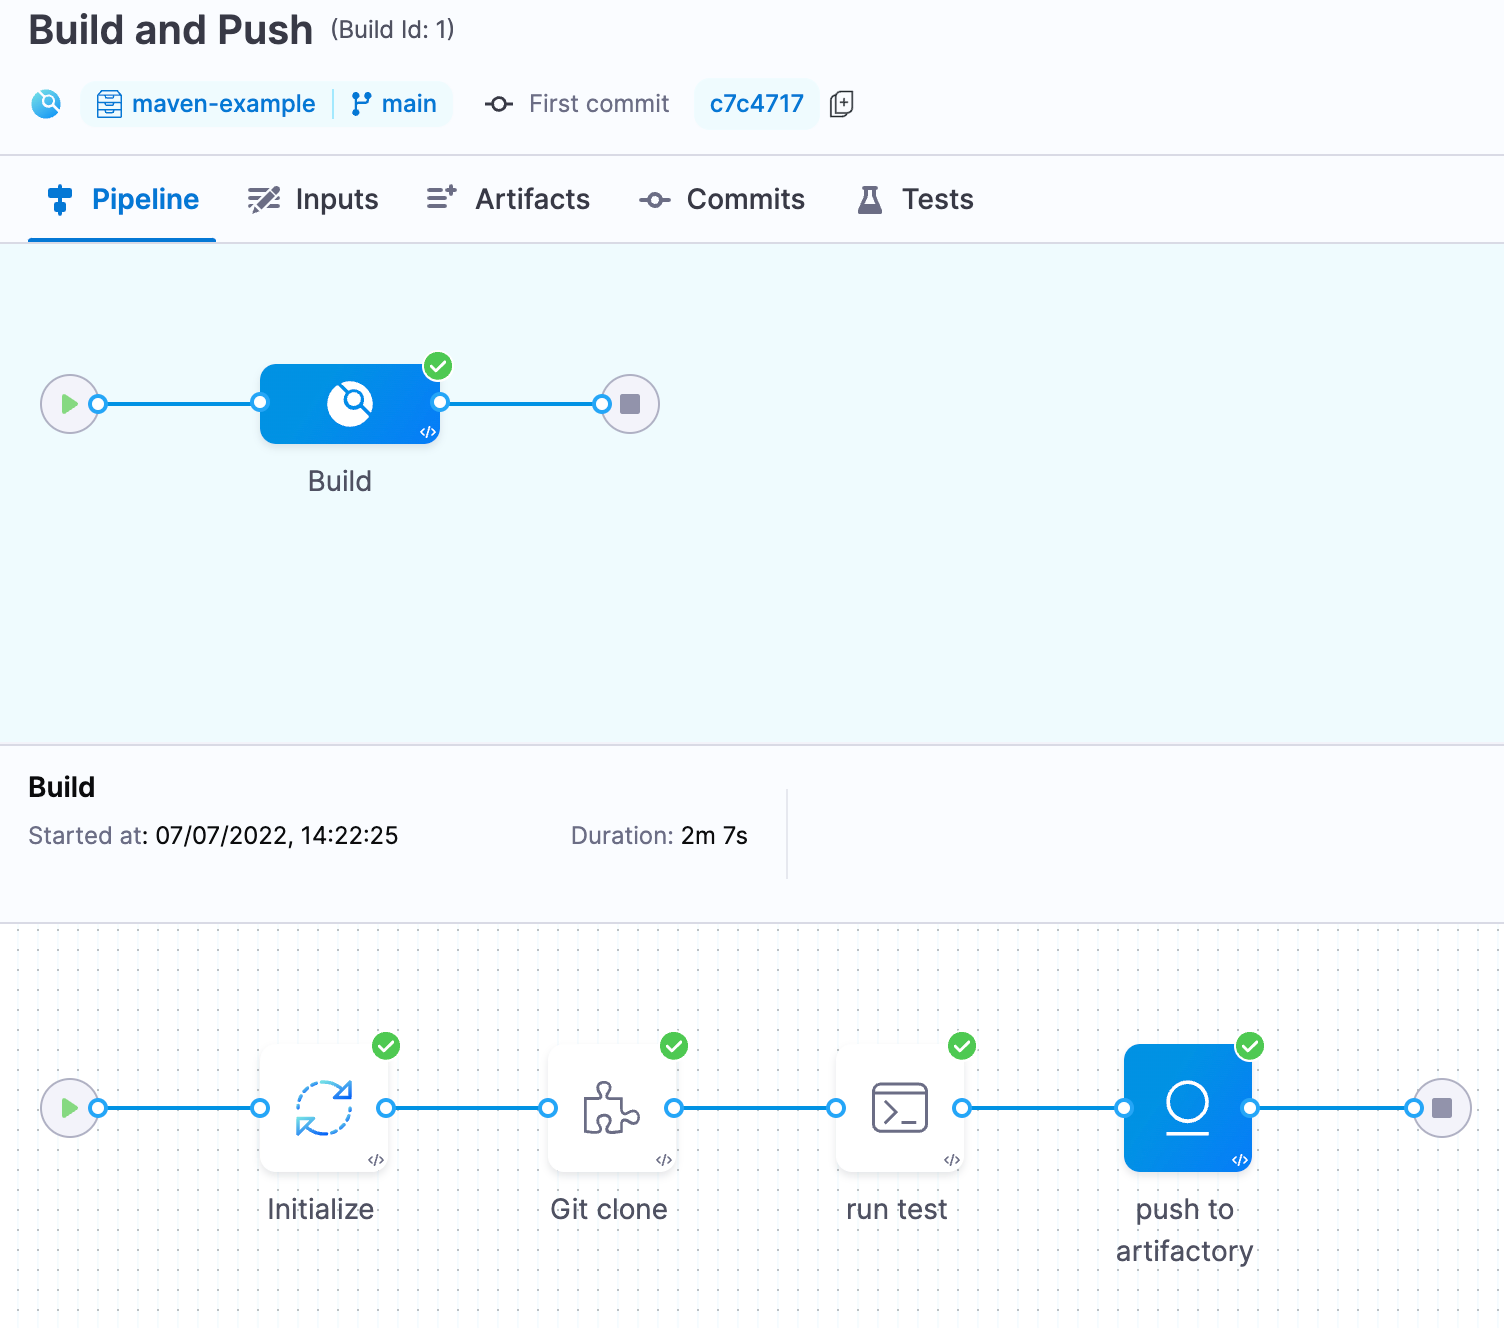

Congratulations, you just pushed our build artifacts to Artifactory with the help of Harness.
Harness Artifactory Integration
Artifactory is one of the best solutions in the market to keep your binaries intact. In addition, it helps developers speed up the software delivery process by reusing the binaries and promoting them throughout the development pipeline. Harness is a modern software delivery platform that has a strong integration with Artifactory to help organizations simplify DevOps.
Ready to try this out with Harness CI? Download a free trial.
Learn more: Efficiently Managing Artifact Dependencies